
The Mesh brush lays a whole sculpted shape in one stroke. Press on the model, drag out, and an ear, a horn or a bolt head stands on the surface at the size you dragged. Where a grey alpha can only push the surface straight out or in, a stamp of the Mesh brush moves every point in any direction, so the shape can lean, curl and overhang.
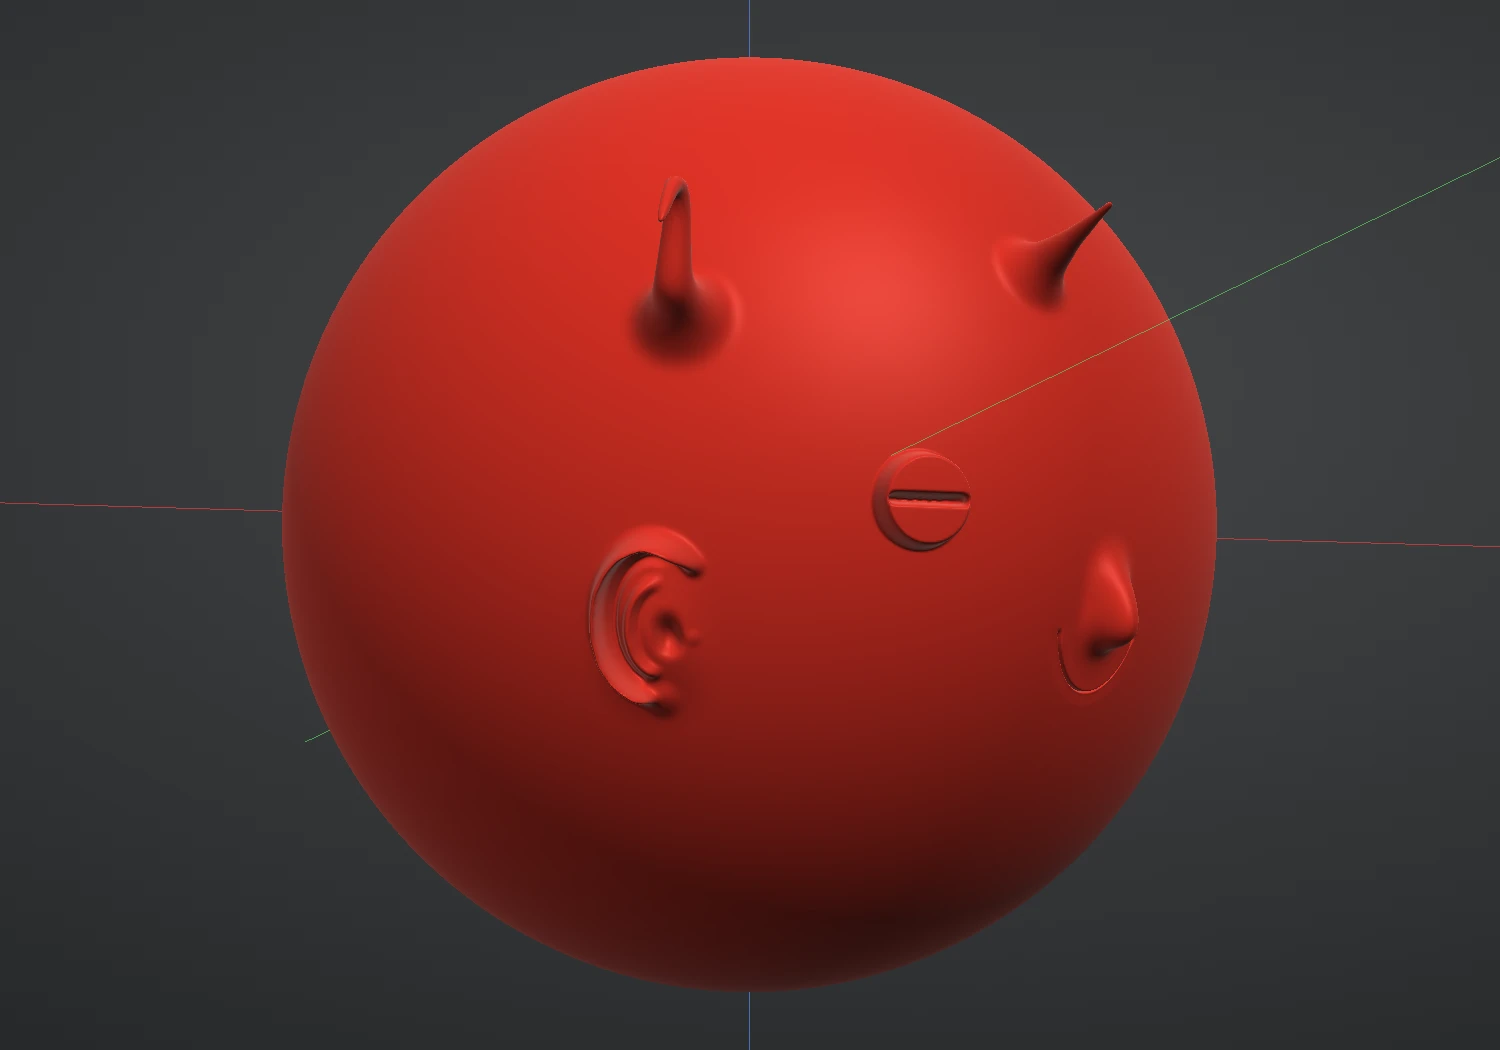
Lay a stamp
- Pick Mesh in the brush picker. It has a group of its own, Mesh, with your stamps beside it: clicking a stamp there picks the Mesh brush and that stamp at once.
- The Brush panel shows the Mesh stamp rows in place of the Alpha rows. Click a stamp's tile to pick it. The built-in set is Ear, Horn, Bolt, Scale and Spike.
- Press on the model and drag out. The stamp is centred on the point you pressed, the length of the drag sets its size, and it faces the way you drag: drag up the screen and the stamp stands upright, drag sideways and it lies on its side. A ring shows the size while you drag, and the stamp is laid when you let go.
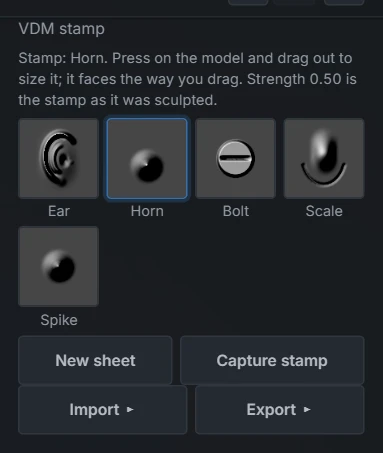
- Strength scales the stamp. At 0.50 it comes out exactly as it was sculpted; at 1.00 it stands twice as far out, and lower values flatten it.
- Hold Ctrl to press the stamp into the surface instead: a bolt head becomes a bolt hole.
- Symmetry applies as it does to a stroke: with Symmetry X on, one drag lays an ear on both sides of a head, each the mirror image of the other.
- One stamp is one step: a single Ctrl+Z takes it back, and it is one step on the Timeline slider.
A stamp can only be as crisp as the mesh under it. If a stamp comes out soft or blocky, Subdivide first, or drag it out larger: the shape needs enough points to hold its detail.
Make your own stamp
A stamp is captured from a shape you sculpt on a stamp sheet, a flat square layer made for the purpose.
- With the Mesh brush picked, press New sheet. A new layer called Stamp sheet is added, facing the front view, and becomes the active layer. Switch on View ▸ Focus active layer to see it alone.
- Sculpt the shape on the sheet, with any brushes you like. Draw and Inflate raise it; Snake Hook and Grab pull it sideways and over itself, and that overhang is kept. Turn the view as much as you need.
- Press Capture stamp, and name it. The stamp appears in the panel, picked and ready, and you can switch back to your model's layer and use it straight away.
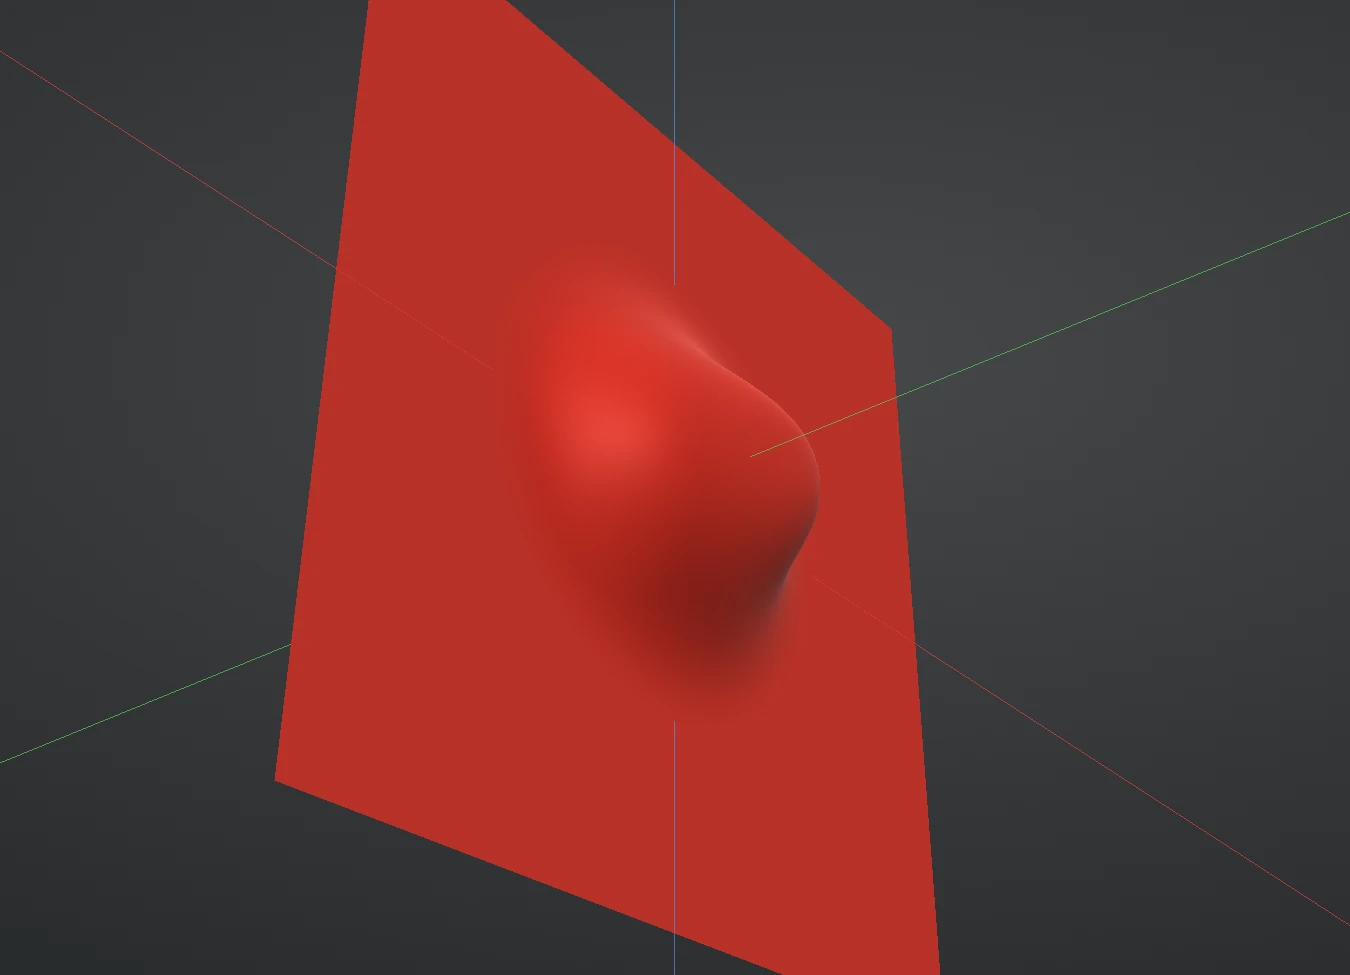
A few things make a good stamp:
- Leave the border flat. The shape should sit in the middle of the sheet and fade to nothing before the edge, so the stamp blends into the surface it lands on. Anything sculpted right at the edge is faded out by the capture.
- Keep the sheet as it is. Sculpt it, but do not subdivide, remesh, clip or move the sheet: Capture reads the sheet's own grid of points, and says so when the layer is no longer one.
- The sheet stays. Capturing does not change the sheet, so you can keep sculpting and capture again, or delete the layer when you are done.
- The top of the sheet, as the front view shows it, is the stamp's up: it is what points along your drag when you lay the stamp.
Keep, share and tidy your stamps
Right-click a stamp's tile for its menu: Stamp library ▸, Rename ▸, Duplicate, Export stamp file and Delete.
- Rename ▸ and Delete for your own stamps.
- Duplicate makes a copy that is yours. The built-in stamps cannot be renamed or deleted, but a duplicate of one can.
- Export stamp file saves the stamp as one .vdm file of about half a megabyte Pro. Import ▸ brings a .vdm file in, on every plan.
Your stamps are kept in this browser, like your saved brushes, and are there the next time you open Re:Form on the same device. To move them to another device, export them and import them there.
Good to know
- With no stamp picked, the Mesh brush does nothing and says so. Pick a tile first.
- Library ▸ opens every stamp at a larger size in a window of its own; Stamp library ▸ in a stamp's right-click menu opens it too. A stamp you made has a small cross on its tile that deletes it, and a right-click on any stamp gives Stamp library, Rename, Duplicate, Export stamp file and Delete. The built-in stamps cannot be renamed or deleted.
- The grey Alpha rows are hidden while the Mesh brush is picked, because the stamp takes their place. Pick any other brush and they come back, with the alpha that brush had.
- Stamps laid on your model are part of the sculpt like any stroke: they are saved with the project, and the sculpt's history replays them even if the stamp itself has since been deleted.
- A stamp or a stroke macro? A macro is a recorded run of strokes, re-aimed at each click; a stamp is one finished shape. Use a macro for things made of strokes (a stitch, a scar) and a stamp for things with a form of their own (an ear, a horn). A macro can record a stamp too: record one drag of the Horn, and after that a single click lays it.