
Blockout builds rough form fast. Instead of pushing a surface around, you draw strokes of volume: tubes, bars, planks and strands that melt together where they meet. Every stroke stays an editable curve until you press Finish, which turns the lot into one clean mesh on its own layer, ready to sculpt.
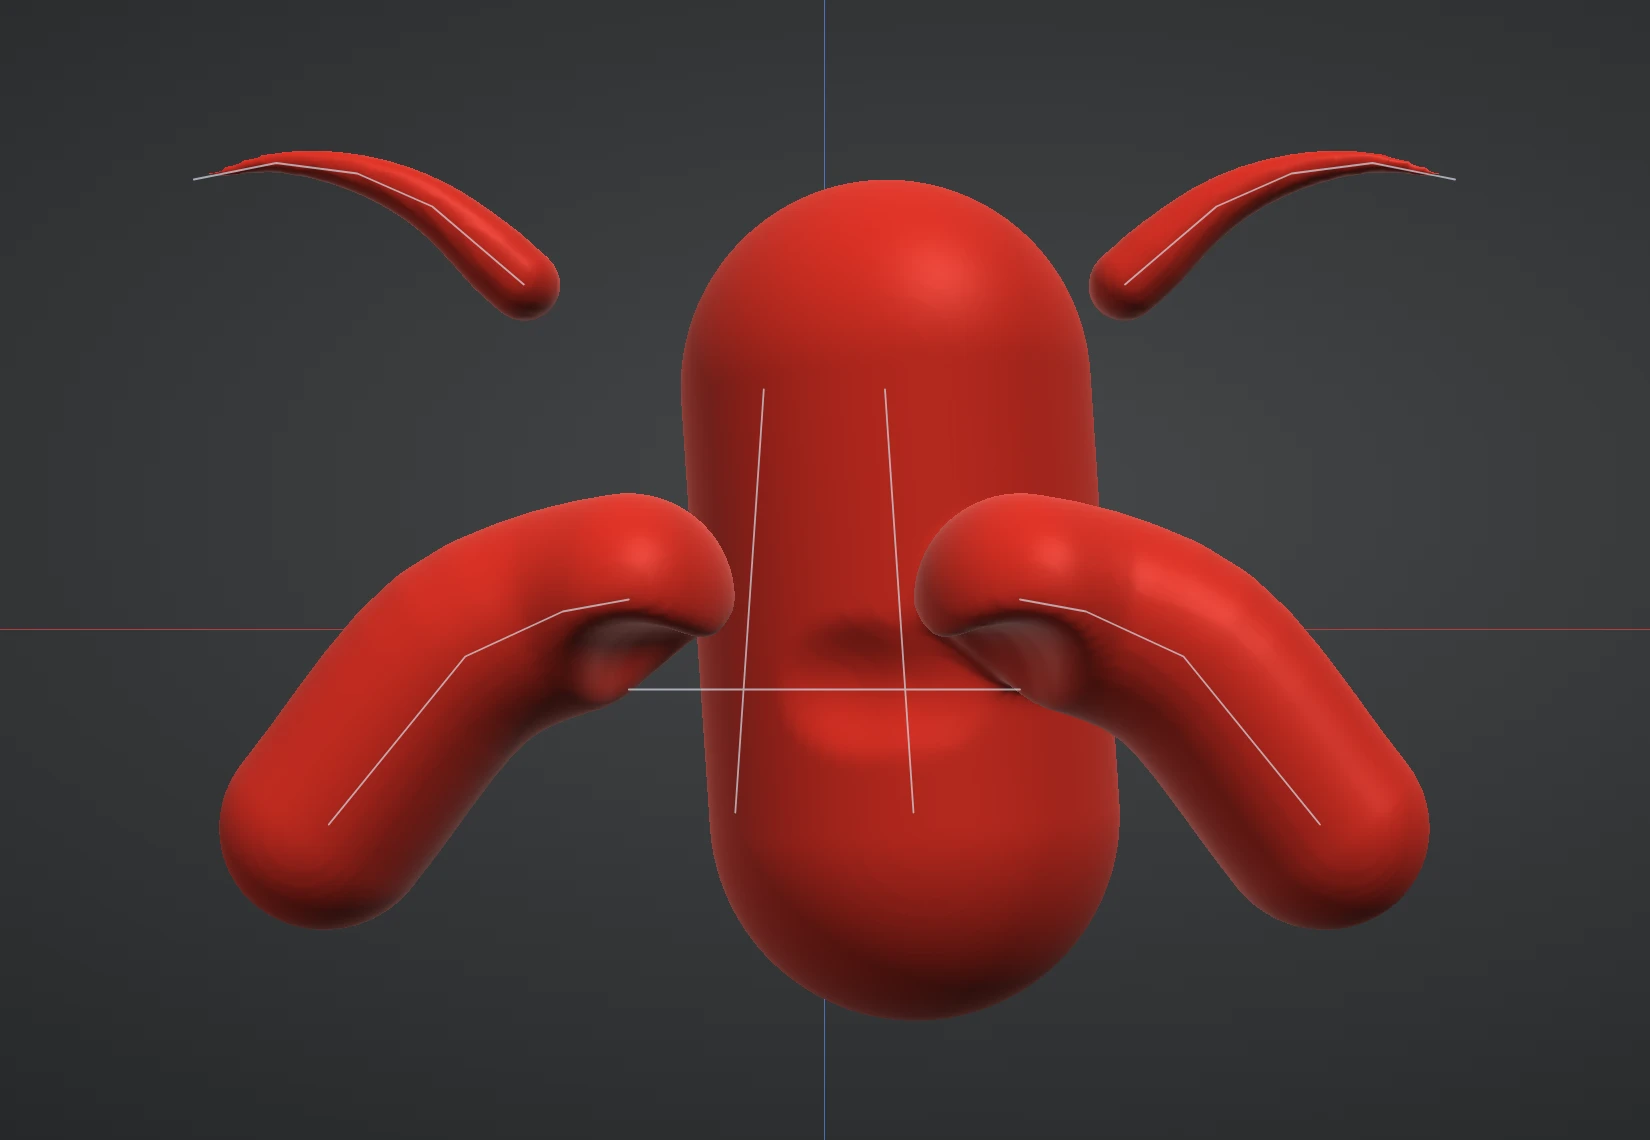
Start a blockout
Click Blockout on the tool rail. Re:Form adds a Blockout layer for the strokes to live in, and the panel on the right swaps the brush settings for the Blockout settings. Your other layers stay where they are, so you can block out on top of an existing model or in empty space.
To start a new sculpt as a blockout, pick the Blockout tile under New sculpt on the start screen (or in File ▸ New…): it opens the Blockout tool on an empty scene. The base sphere is still there as a hidden layer; show it from Layers if you want it.
Leave Blockout with nothing drawn and its empty layer is removed, so a brush or Reflow picked straight after works on your sculpt.
Modes
The row at the top of the Blockout panel picks how you draw. Every mode makes ordinary Blockout strokes, so everything on this page (blending, profiles, strands, symmetry, selecting, the gizmo, Undo and Finish) works the same whichever mode made them.
- Strokes is the default: drag to lay a stroke freehand.
- Curve places a precise curve point by point. See Curve mode below.
- Sketch draws a flat outline in a front, side or top view and makes a solid, a flat plate or a revolved shape of it. See Sketch mode below.
- CrossForm draws a front outline, then a side outline, and the shape is where the two meet. See CrossForm mode below.
Draw strokes
- Drag to lay a stroke. Started on a surface, it rests on that surface. Started in the air, it takes the depth of the nearest curve on screen within the Snap distance, or else a plane through the middle of the scene, facing you, and it stays in the air: it keeps that depth even where it crosses other curves. A stroke that runs off a surface carries on straight at the depth where it left.
- Alt+drag lays a perfectly straight stroke from where you press to where you let go.
- Ctrl+drag carves: the stroke cuts its shape out of the strokes it passes through instead of adding.
- Symmetry mirrors every stroke on the axes you have on. A stroke drawn right on the mirror plane is laid once.
Strokes melt into each other where they meet; Blend sets how far, from a hard seam at 0 to very blobby at 1. Two switches decide what happens where strokes meet:
- Overlay on: a stroke started on another curve rests on top of it. Off: it starts inside the curve under the pointer, on its centre line, and keeps that depth, so it melts in without a bump. Use Off to draw an arm out of a shoulder or to fill out a torso.
- Merge ends on: drag a stroke's end onto the end of another curve and the two join into one curve; a ring on the end shows the join before you let go. Off: every stroke stays a curve of its own.
Curve mode
Curve mode is for shapes you want exact: a clean arc, a precise S-bend, a ring.
- Click to place each point. A point lands the way a stroke would: on a surface under the pointer, or in the air at the depth of the curve you started from.
- Drag while placing to pull out the point's handles and bend the curve through it. Without a drag, the curve runs smoothly through your points on its own.
- Alt+click places a sharp corner.
- Enter or a double-click finishes the curve. Escape cancels it, and Backspace takes the last point back.
- Closed joins the end back to the start, for rings and loops. Clicking the first point again closes the curve and finishes it too.
The finished curve uses the current Size, profile, ends, strands and twist. Pen pressure plays no part in Curve mode.
Curves start on Build: Sweep: the curve is built as its own exact tube, so its corners stay sharp, its strands stay apart, the preview looks exactly like the finished mesh, and the mesh stays light. A swept curve does not melt into other strokes, it just overlaps them; Remesh joins the pieces when you want one surface. Switch to Build: Blend to melt a curve into the other strokes like any stroke.
A selected curve shows its points and their handles:
- Drag a point to move it; its handles come with it. Drag a handle to bend the curve. The two handles of a smooth point stay in line; hold Alt while dragging a handle to break the pair.
- Alt+click a point to switch it between sharp and smooth.
- Click a point to pick it, and Size sets that point's size. The size changes smoothly from point to point, so a curve can swell in the middle and thin at the ends.
- Shift+right-click on the curve adds a point without changing its shape.
- With a curve selected, Closed opens or closes it.
Mesh along a curve
Press Build until it reads Build: Mesh and the curve is dressed with copies of a mesh instead of a tube: a chain, a row of beads, a cable, a line of stitches or teeth. It works on curves and on strokes, on new ones and on the ones you have selected.
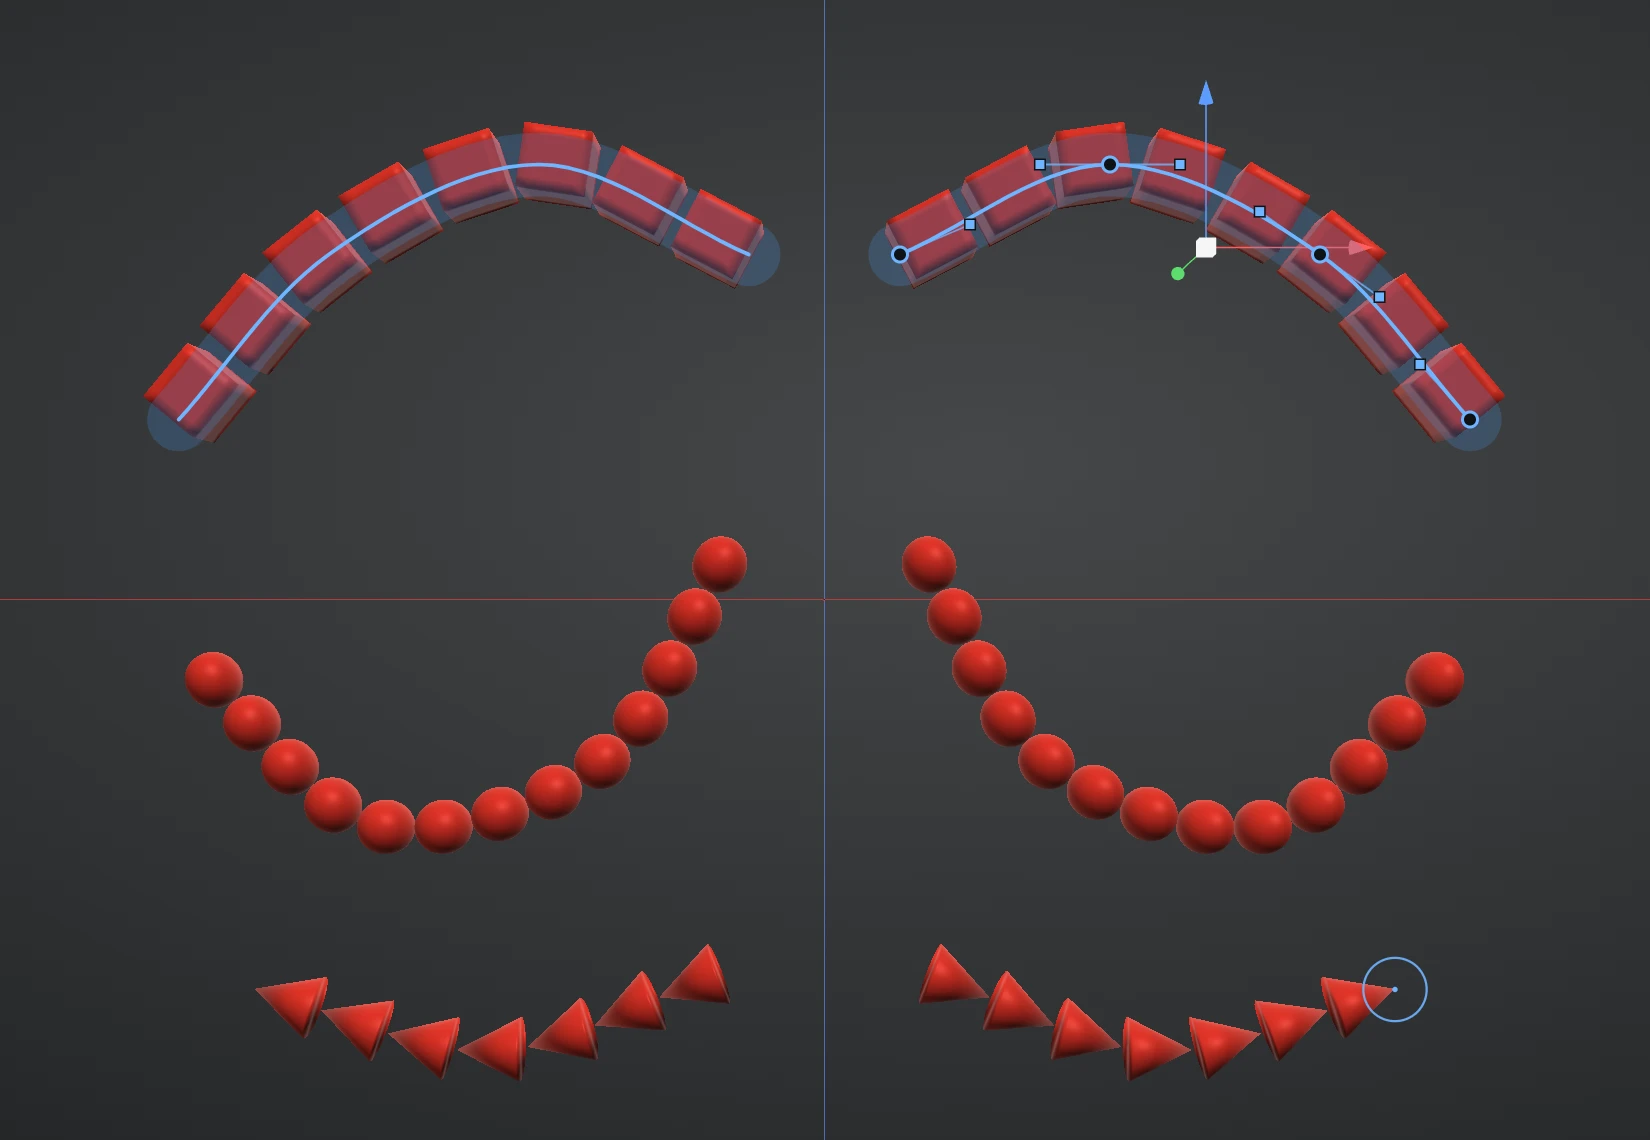
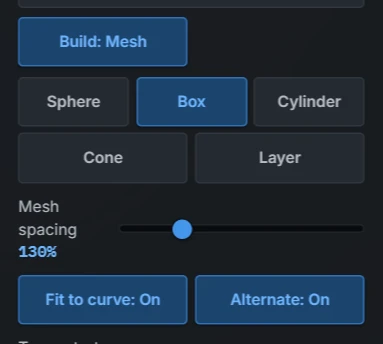
- Sphere, Box, Cylinder, Cone pick a ready-made shape. Layer copies another layer of your sculpt: sculpt one chain link, scale or stitch on its own layer, pick it here, and it runs along the curve with its longest side along it. The copy of the layer is taken when you pick it (up to 50,000 triangles; Decimate a heavier one first).
- Each copy is as wide as the curve is there, so Size scales the copies, a point's own size swells or thins them along the curve, and Taper shrinks them toward the ends.
- Mesh spacing is the distance from one copy to the next as a share of a copy: 100% puts them end to end, 200% leaves a gap of one copy between them.
- Fit to curve stretches or shrinks the copies a little so a whole number fills the curve, with no half copy at the end; a closed curve shares them out all the way round. Off, the copies sit at the exact spacing, centred on the curve.
- Alternate turns every second copy a quarter turn about the curve, the way the links of a chain sit.
- Twist and Profile rotation turn the copies about the curve, and Symmetry mirrors them.
The curve stays a curve: drag a point or a handle and the copies follow. Like a Sweep, the copies do not melt into the other strokes; Finish makes them part of the Blockout layer's mesh, each copy a piece of its own with its own Mesh Set, and a Remesh joins them when you want one surface.
Sketch mode
Sketch mode turns a flat outline into a solid: a blade, a fin, an ear, a wing, a shield. Choosing Sketch turns the view to the orthographic Front view.
- Drag to draw a lasso. The outline closes when you let go.
- Click to place corner points instead. Drag while placing a point to make it a smooth point. Click the first point again, press Enter or double-click to close the outline. Escape cancels it, and Backspace takes the last point back.
- Hold Shift to snap points to the view grid.
- Ctrl+drag draws a lasso that carves instead of adding. For a clicked outline, hold Ctrl on any of its clicks, or press Ctrl+Enter to close it, and it carves.
- The outline lies in the plane of the view you draw in, through the middle of the scene. Switch to the side or top view to draw in those planes. Start the outline over a surface (the active layer, any visible layer with Surfaces: All, or the blockout itself) and its plane goes through the point under your first click instead.
- Symmetry mirrors the outline like a stroke.
The Result row picks what the outline becomes:
Solid gives it thickness, and it melts into the other strokes like any stroke. Thickness, Edge, Taper and Inflate below shape it.
Flat makes an exact flat plate as thick as the Thickness, with crisp edges. Like a Sweep curve it is its own light mesh and does not melt into the other strokes; overlapping pieces overlap, and Remesh joins them. For fins, cards, leaves and panels.
Revolve turns the outline round the view's centre line, the up axis through the middle of the view. Draw a vase's profile beside the middle and it becomes the vase; draw it across the middle and both sides turn. It melts into the other strokes like a stroke. Thickness does not apply: the outline is the whole shape.
Thickness is how thick the solid is. It comes from the Size, like a tube: a Size of 0.15 makes a solid 0.30 thick. The slider goes up to 3; click the number to type a thicker one.
Edge makes the rim Sharp, Bevelled or Rounded. Edge amount sets how big the bevel or the rounding is.
Taper thins the solid toward its outline, like a blade. At 1 the outline comes to a thin edge; the solid reaches its full thickness in the middle of the shape.
Inflate puffs the solid up in the middle like a pillow (up to twice as thick at 1) or, below 0, thins it toward the middle like a dish. The outline's edge stays where it is; 0 keeps the solid flat.
The finished outline comes back selected with its points showing. Drag a point or a handle to reshape it; it stays in the sketch's plane, and Shift snaps it to the grid. Alt+click a point to switch it between sharp and smooth, and Shift+right-click on the outline adds a point. With sketches selected, Thickness, Edge and Taper change them. The gizmo, Duplicate, Delete, Undo, saving and Finish treat a sketch like any stroke.
CrossForm mode
CrossForm makes a 3D form from two drawings, the way a head is drawn from the front and the side. Choosing CrossForm turns the view to the orthographic Front view.
- Draw the front outline as in Sketch mode: drag a lasso, or click corner points and click the first point to close.
- The view turns to the side. Draw the side outline the same way, at the same height. The shape appears: the front outline pushed through from front to back, cut by the side outline pushed through from side to side.
- The view turns back to the front for the next shape. Escape while the side is waiting goes back to the front step.
- Ctrl on the front outline carves the shape out instead of adding it. The shape melts into the other strokes like a stroke, and symmetry, selecting, the gizmo, Undo and Finish treat it like any sketch. Drag its points to reshape the front outline; to change the side, delete the shape and draw it again.
Tracing a reference image
Sketch mode is made for tracing. Load a picture for the view under View ▸ Reference, and it shows behind the model while you draw. A point placed on a feature of the picture lands exactly on that feature, whether the outline lies in the picture's plane or in front of it on a surface, so an outline traced round a drawing matches it.
Shape the stroke
- Size is the stroke's half-width. With a pen, pressing harder draws a thicker stroke; turn that off under Pen pressure in Blockout in the preferences.
- Profile picks the cross-section: Round, Square, Triangle, Hexagon or Flat. For the profiles with corners, Corner rounding softens them and Profile rotation turns the profile about the stroke. With Flat, Flat thickness sets how thick it is against its width: 0.25 is a plank, 1 a square, less a thin blade or ribbon.
- Build chooses how a stroke becomes a surface. Blend melts it into the other strokes; Sweep builds it as its own exact, light tube; Mesh lays copies of a mesh along it (see Mesh along a curve below). Strokes start on Blend and curves on Sweep, and with strokes selected the button switches them.
- Strands turns a curve into several strands of the chosen profile laid in a ring: round strands make a rope, square ones a twisted cable. 1 is the plain stroke. Strand size sets how thick each strand is against the stroke's size, which stays the outer width, and Strand offset moves the strands out from the centre so they part into separate cords (or in, below 0). Strands and Twist are Curve mode settings; strokes drawn in Strokes mode are always one plain strand.
- Twist winds the profile along the stroke, in whole turns per stroke-width of length, so long and short strokes twist equally tightly: strands become a rope, a Square becomes a twisted bar, a Flat a ribbon. Negative twists the other way; a mirrored stroke twists opposite, as a true mirror image. Tight twists read cleanest at a higher Final resolution.
- Ends makes a stroke's ends domed or cut square.
- Taper start and Taper end narrow the stroke toward either end, and Taper amount sets how fine the tip gets. Together they make hair, horns and claws.
- Stabilize makes the stroke follow a point on a lazy string behind the pointer, for steadier curves. A dashed line shows the string while you draw.
- Surfaces chooses where strokes land: the active layer only, or any visible layer, so you can lay strips onto another mesh.
Select and edit
Every stroke is a curve through control points, and you can change it at any time before you Finish.
- Hold Shift to see every curve's centre line. Shift+click a curve to select it, and again to deselect it. Every selected curve shows its control points; Shift+click a point to pick it, on as many curves as you like.
- Shift+drag draws a box that adds every curve inside it to the selection. With curves selected, a box around some of their control points picks those points instead. A box that catches nothing clears the selection, and so do Clear selection and Escape.
- The transform gizmo moves, rotates and scales the selection, or only the picked points when some are picked.
- Size, the profile settings and the taper settings reshape the selected strokes. When points are picked, Size resizes only those points.
- Shift+right-click adds a control point: on a selected curve it splits the segment under the pointer, and past an end it extends the curve.
- To curve turns one selected stroke into a Curve-mode curve with the same shape, its points and handles ready to drag. It is in the selection row and on the right-click menu, and one Undo turns it back.
- Delete removes the picked points, or the whole curve when none are picked. The add/carve button in the selection row swaps what the selected strokes do.
- Ctrl+Z undoes any of it, and Clear removes every stroke.
Finish
While you work, the preview is built at the Live resolution so it keeps up. Pause for a moment and a refined preview, built the way Finish builds it, replaces it.
Press Finish to build the mesh at the Final resolution into the Blockout layer. Smoothing sets how many smoothing passes the finished surface gets: higher rounds off the ripples of the grid it is built on, and 0 keeps the raw surface. If you pick a sculpt or paint brush with strokes still unfinished, Re:Form asks whether to Finish first.
Mesh Sets from strokes (in the Mesh group, on by default) gives the finished mesh a Mesh Set for every stroke, so a creature is ready to pose part by part with the Pose tool the moment it is finished:
- Each part of the surface belongs to the stroke it is nearest, so the border between two sets runs through the middle of the blend where they meet.
- A mirrored stroke's two sides are two sets: the left arm and the right arm. A stroke that crosses the mirror line, like a torso drawn down the middle, is one set.
- A stroke continued with Merge ends is one stroke, so it is one set. Curve and Sketch strokes count like any stroke. Carving strokes only take volume away, so they make no set of their own.
The new sets show at once; Show in the Mesh Sets section turns the tint off. Turn Mesh Sets from strokes off and the finished mesh has no sets. The setting is saved with an unfinished blockout.
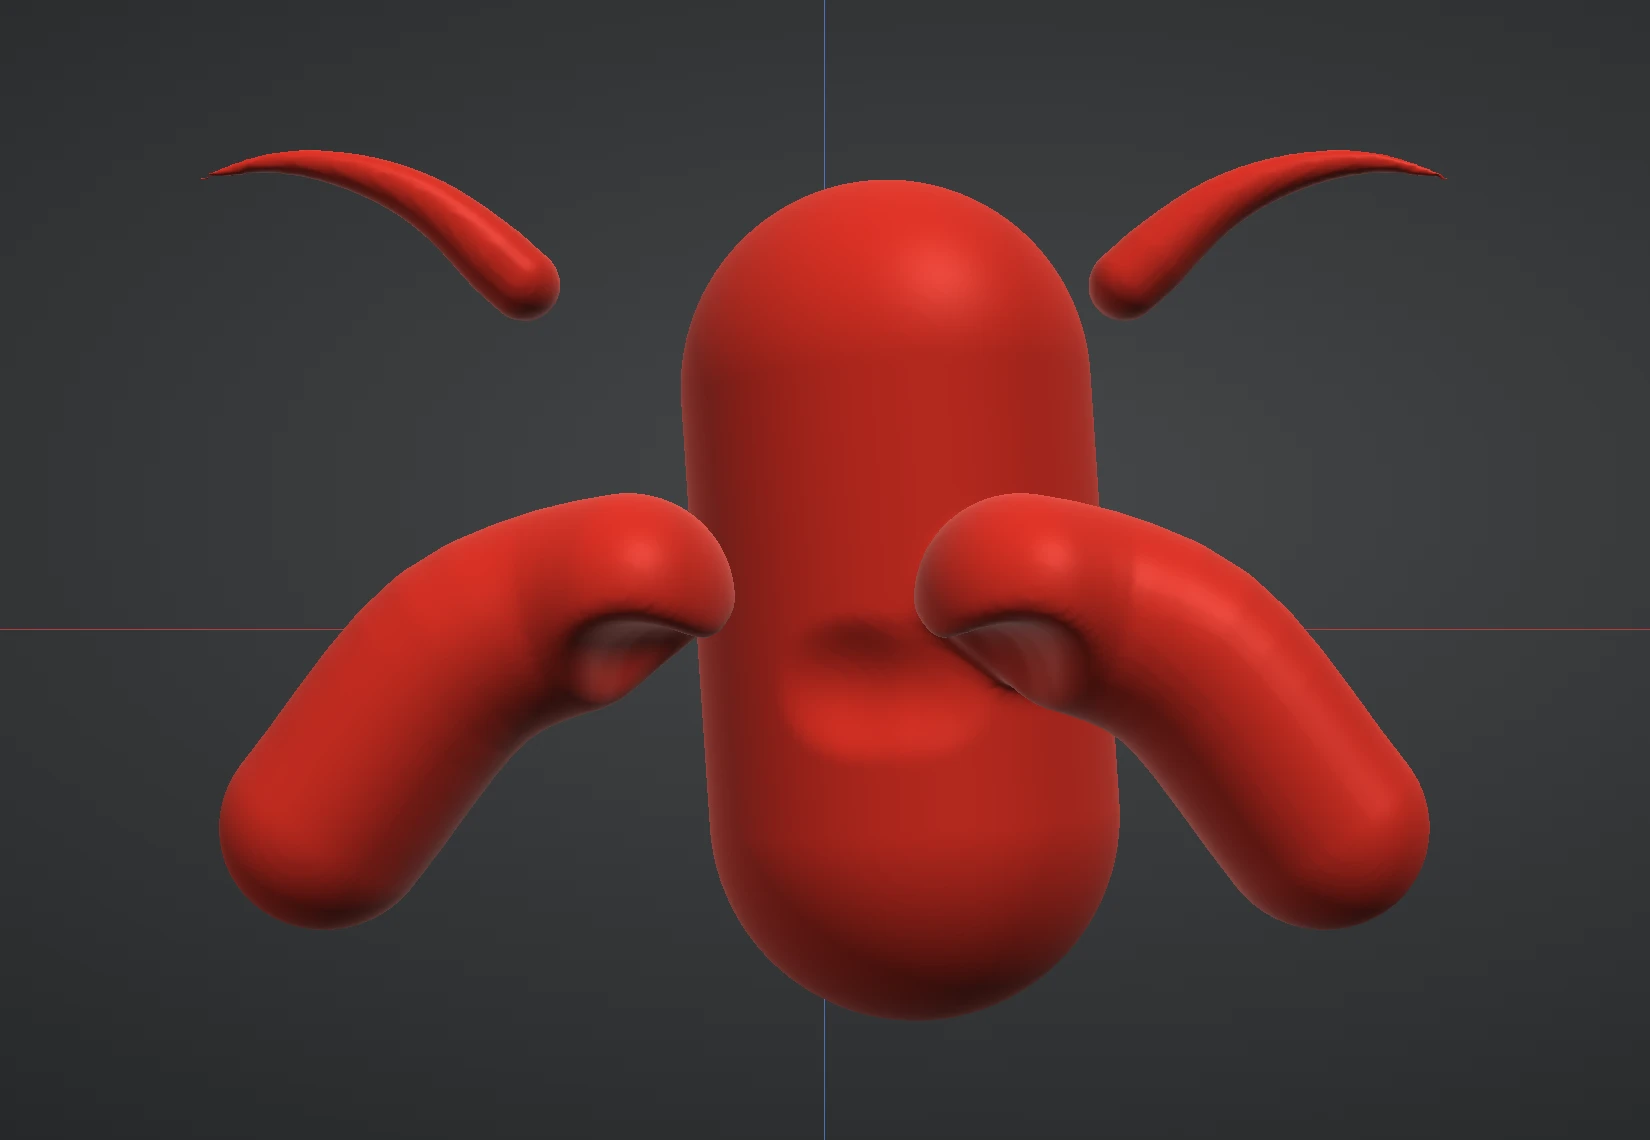
Unfinished strokes are saved with the project, so you can close a blockout halfway and pick it up again. After Finish, Remesh and subdivision take the rough form on to detail.