
Open a new sculpt and this is what you're looking at:
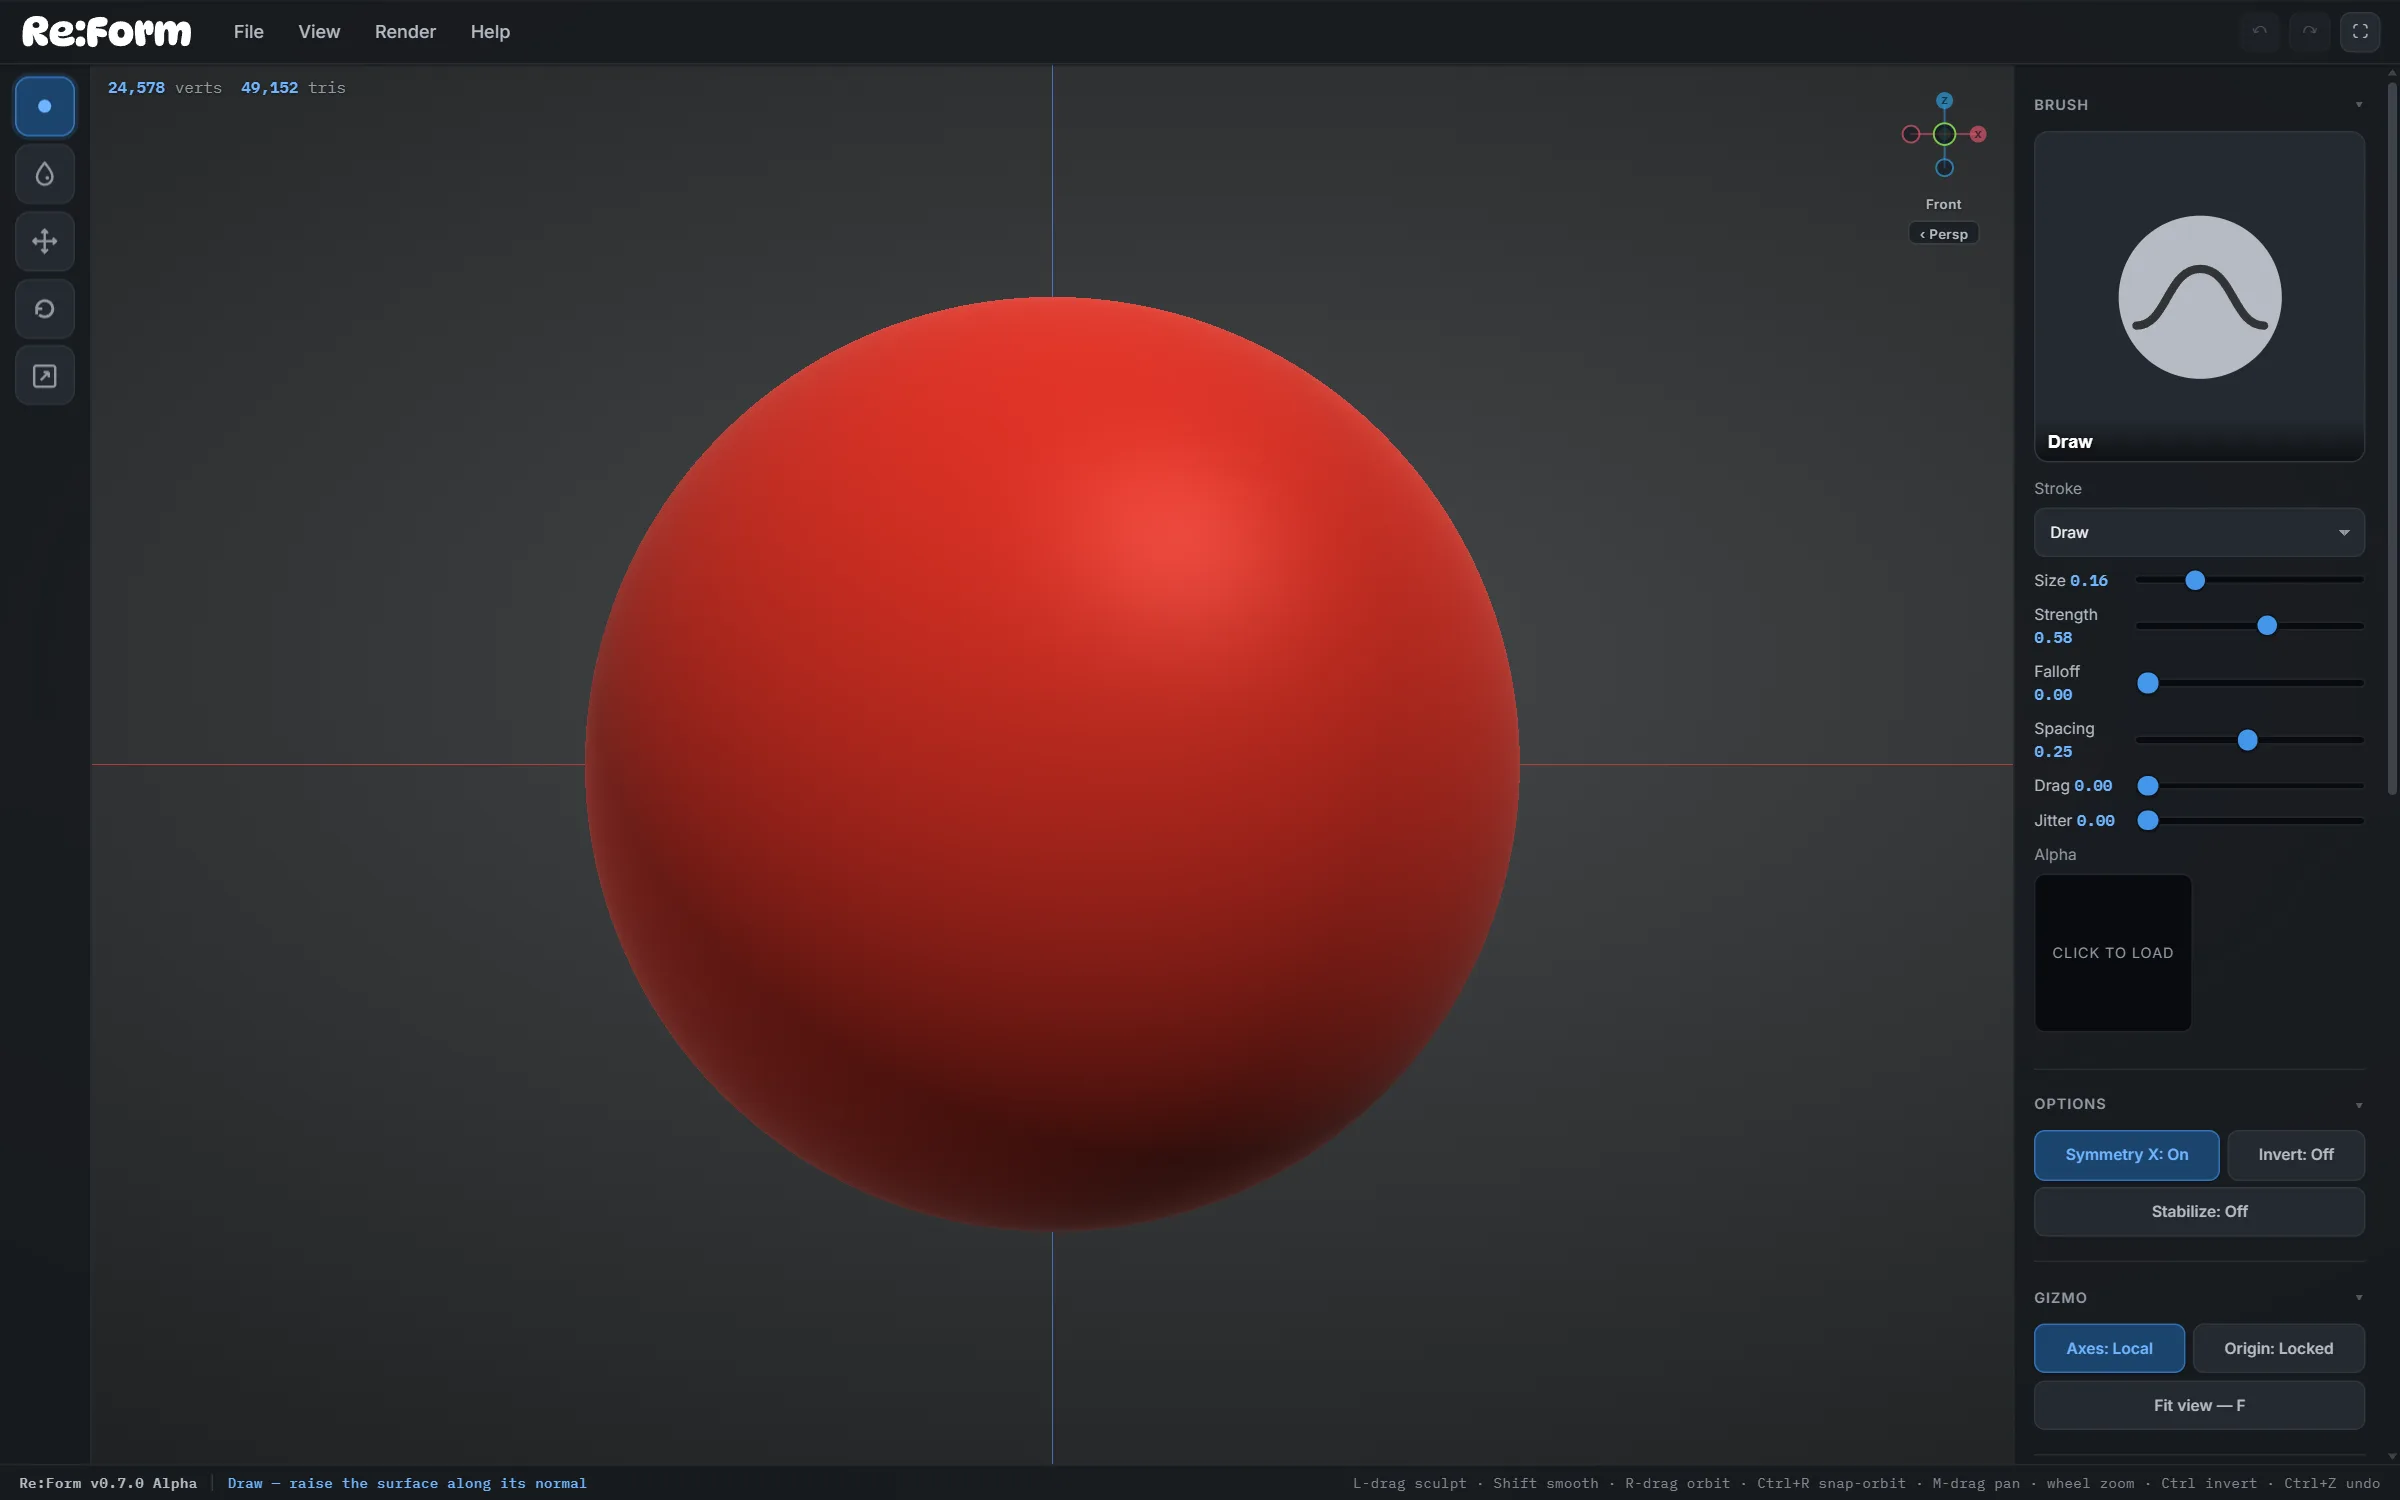
The viewport
The big space in the middle is where you sculpt. The counters in the top-left corner show the live vertex and triangle count of your mesh. The compass in the top-right corner is the navigation gizmo — it shows which way you're facing, names the current view (Front, Right…), and shows whether you're in Perspective or Ortho projection. In Perspective a floor plane sits under the model for orientation; the coloured lines through the origin are the world axis guide (X red, Y green, Z blue).
The left tool rail
Top to bottom:
- Brush — the sculpting mode. Right-click the button (or click the big brush preview at the top of the right panel) to open the brush picker.
- Paint — paint colour and material onto the surface instead of moving it. Right-click to pick a paint brush.
- Move / Rotate / Scale — object transform tools. They show a gizmo for moving whole layers rather than sculpting the surface. See Grab & transforms.
- Engine badge — GPU or CPU, showing which engine is running.
The menu bar
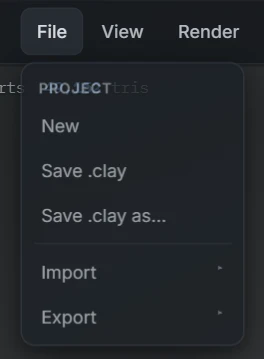
- File — New (opens the Projects window), Save
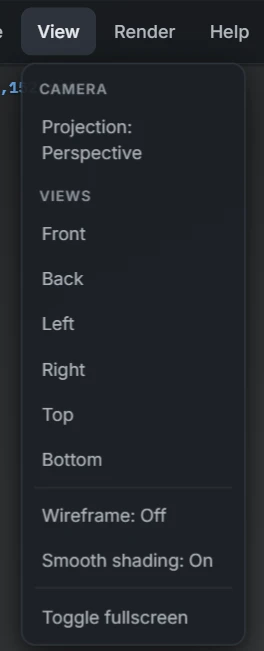
.clay, Save.clayas…, and the Import and Export submenus (OBJ, STL, GLB, FBX). - View — projection toggle, the six axis views, wireframe, smooth shading, FPS counter, and a few performance toggles.
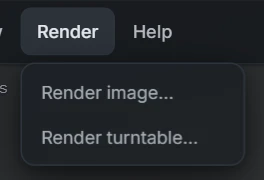
- Render — Render image… and Render turntable…, for presentation-quality output.
- Help — these guides, the controls reference, the FAQ and About.
The right panel
Every setting lives here, in collapsible sections (click a title to fold it):
- Brush — the active brush, stroke type, and the Size / Strength / Falloff / Spacing / Drag / Jitter sliders, plus the brush alpha slot. Mask tools appear here while the Mask brush is active.
- Paint — colours, wet mix, roughness and metalness; visible while a paint brush is active.
- Options — Symmetry X, Invert, and the Stabilize steadier for smooth lines.
- Gizmo — Local/World handle axes, the origin lock, and Fit view.
- Environment — Matcap / Unlit / Lit shading, the sculpt material, and (in Lit) the studio lighting rig.
- Reference & Grid — reference images and the measurement grid; these two appear in Ortho projection.
- Topology — Subdivide up and down, the current level, and Remesh.
- Layers — the layer stack: add, duplicate, mirror, merge, split loose.
The brush picker
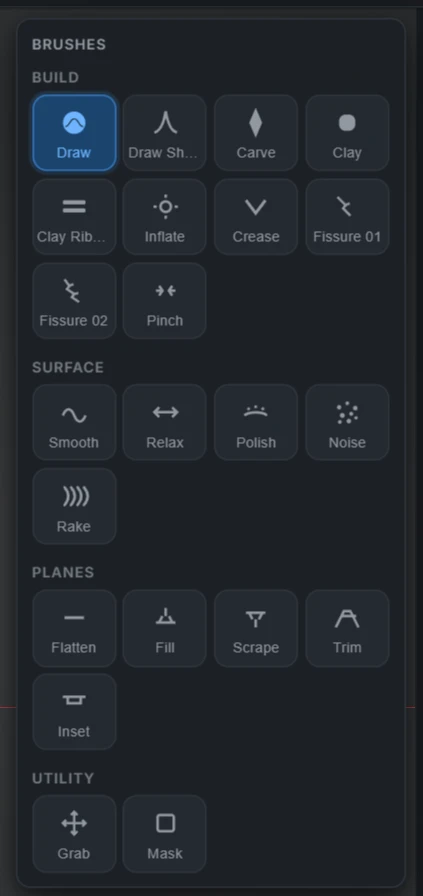
Right-click the Brush tool (or click the brush preview card) and the picker opens, organised into Build, Surface, Planes and Utility groups — with the Paint group appearing when the Paint tool is active. Hover any brush for a plain-language description of what it does.
The status bar
The strip along the bottom shows the app version, what the active brush does, and the full mouse-and-keyboard cheat sheet: left-drag sculpts, Shift smooths, Ctrl inverts, right-drag orbits, middle-drag pans, the wheel zooms, Ctrl+Z undoes. The complete list lives in the controls reference.
Next: navigate the viewport.