Every brush keeps its settings
Every brush remembers its own Size, Strength, Falloff, Spacing, Drag and Jitter — switch away and back and it is exactly as you left it.

Re:Form is a complete sculpting toolset on a GPU engine built for one job: staying smooth while the polygon count climbs. Here it is in the order a sculpt goes: rough it in, shape the mesh, colour it, show it, and take it wherever it is going next.
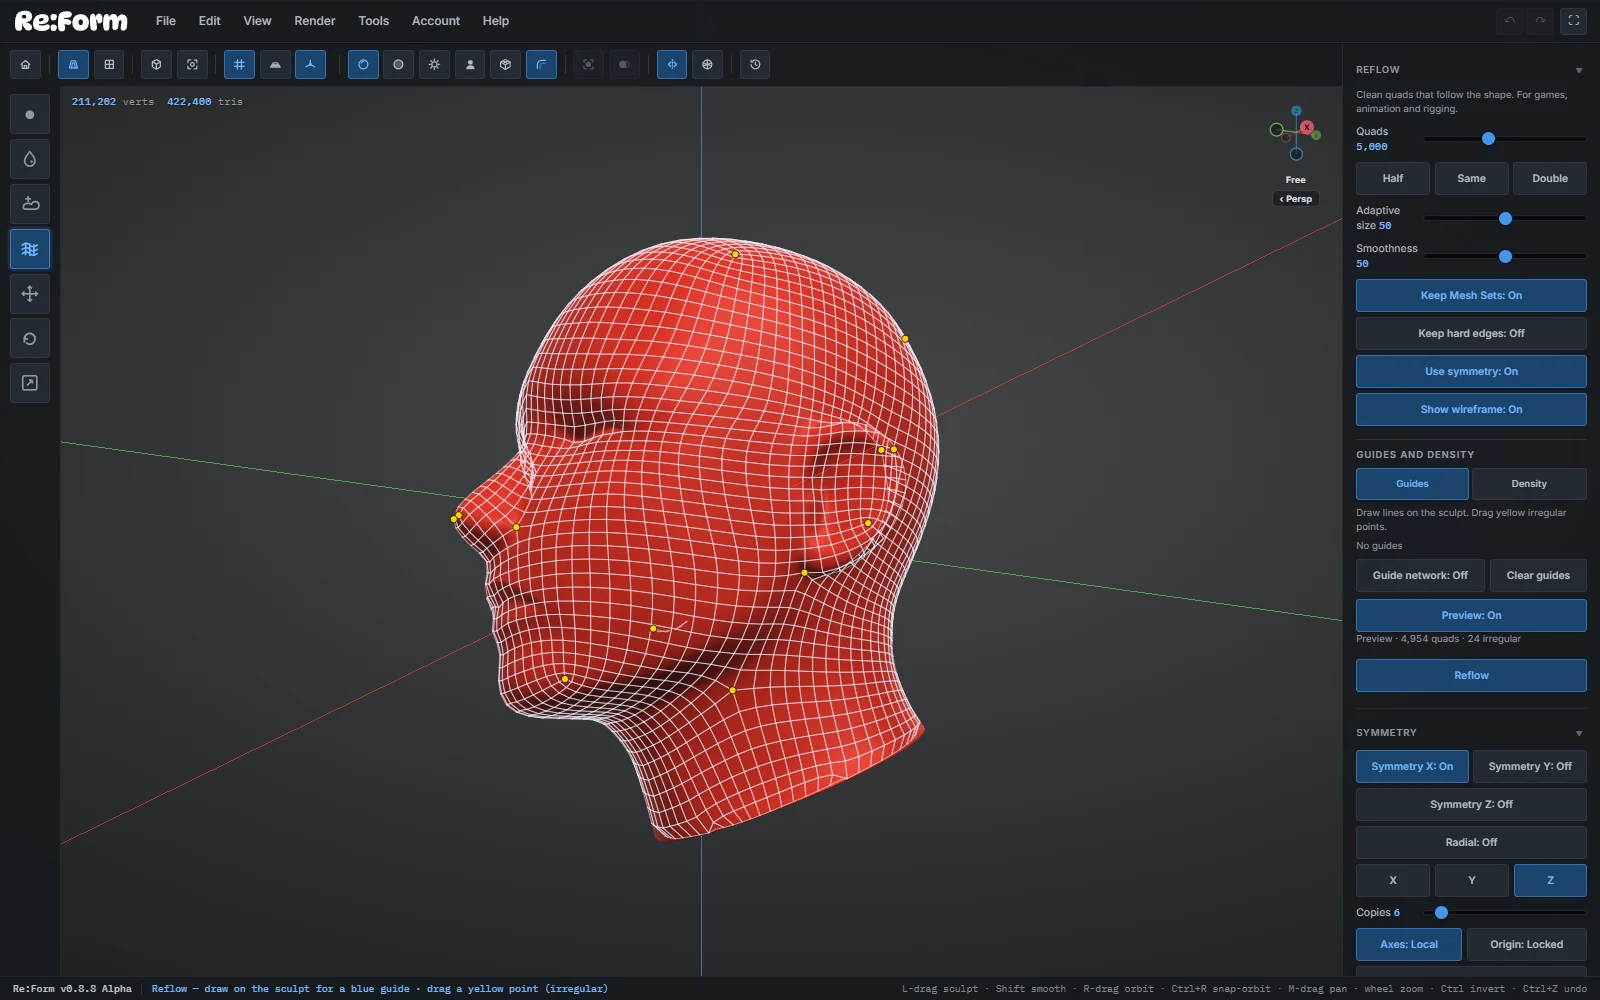
Rough the form in, then work it with brushes that remember how you left them.
Every brush sits in a group named for its job. Build: Draw, Clay and Inflate. Move: Grab and Snake Hook. Sharp: Draw Sharp, Carve, Crease and Pinch. Detail: two Fissure cutters, Noise and Rake. Mesh: the Mesh brush and its stamps. Surface: Smooth, Relax, Polish and Morph. Planes: Flatten, Fill, Scrape and Trim. Mask: Mask, Mask Expand, plus Mask Rect, Mask Circle, Mask Lasso and Mask Line to mask a clean shape through the whole model. Clip: cut a model along a line, a rectangle, a circle or a curve. Mesh Sets: Set Mask, Set Hide and Set Delete, one click on a part. Plus a six-brush paint set.
Read the brush guides → The Mesh brush → Stroke macros →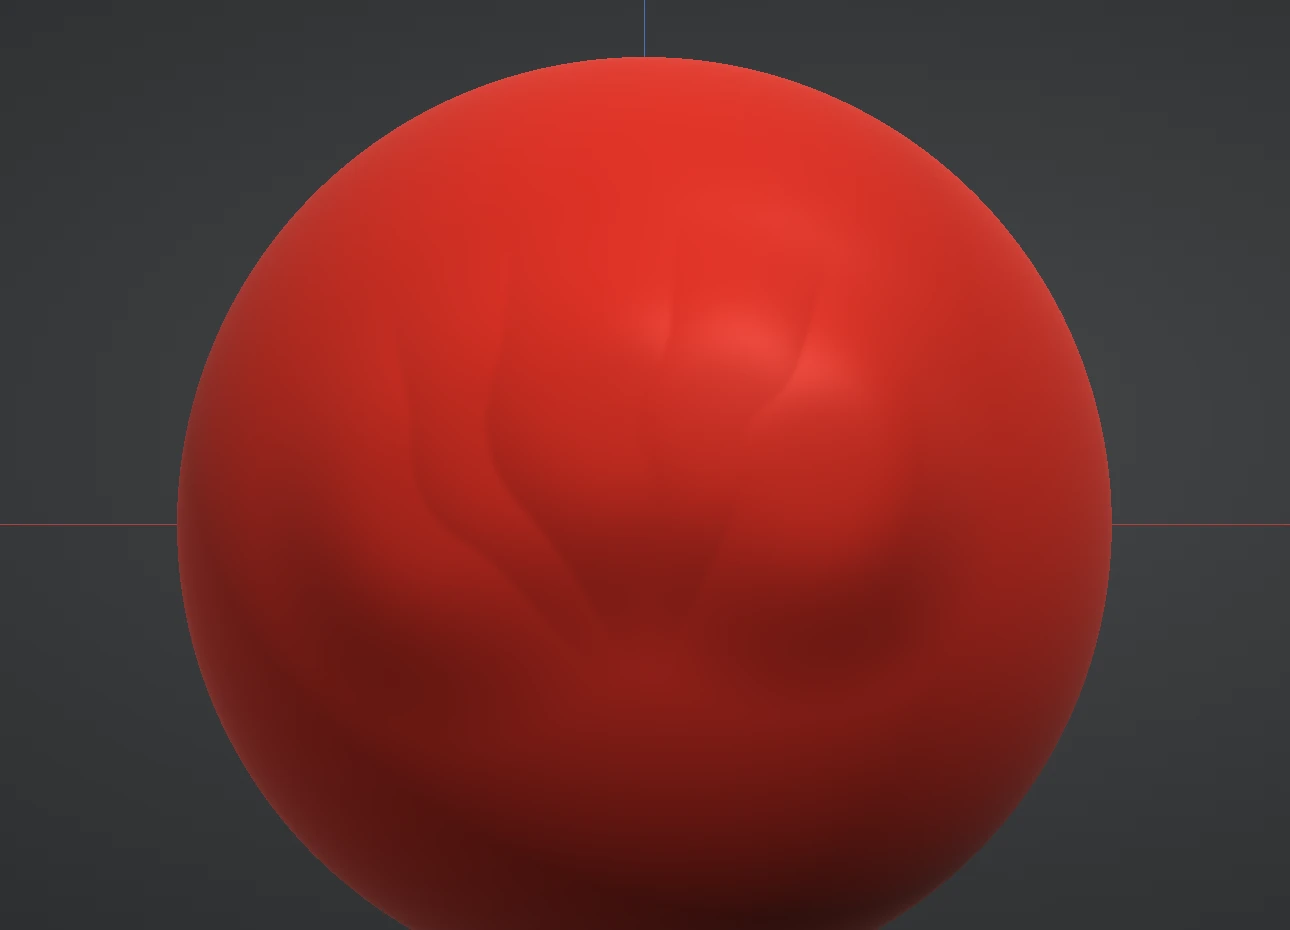
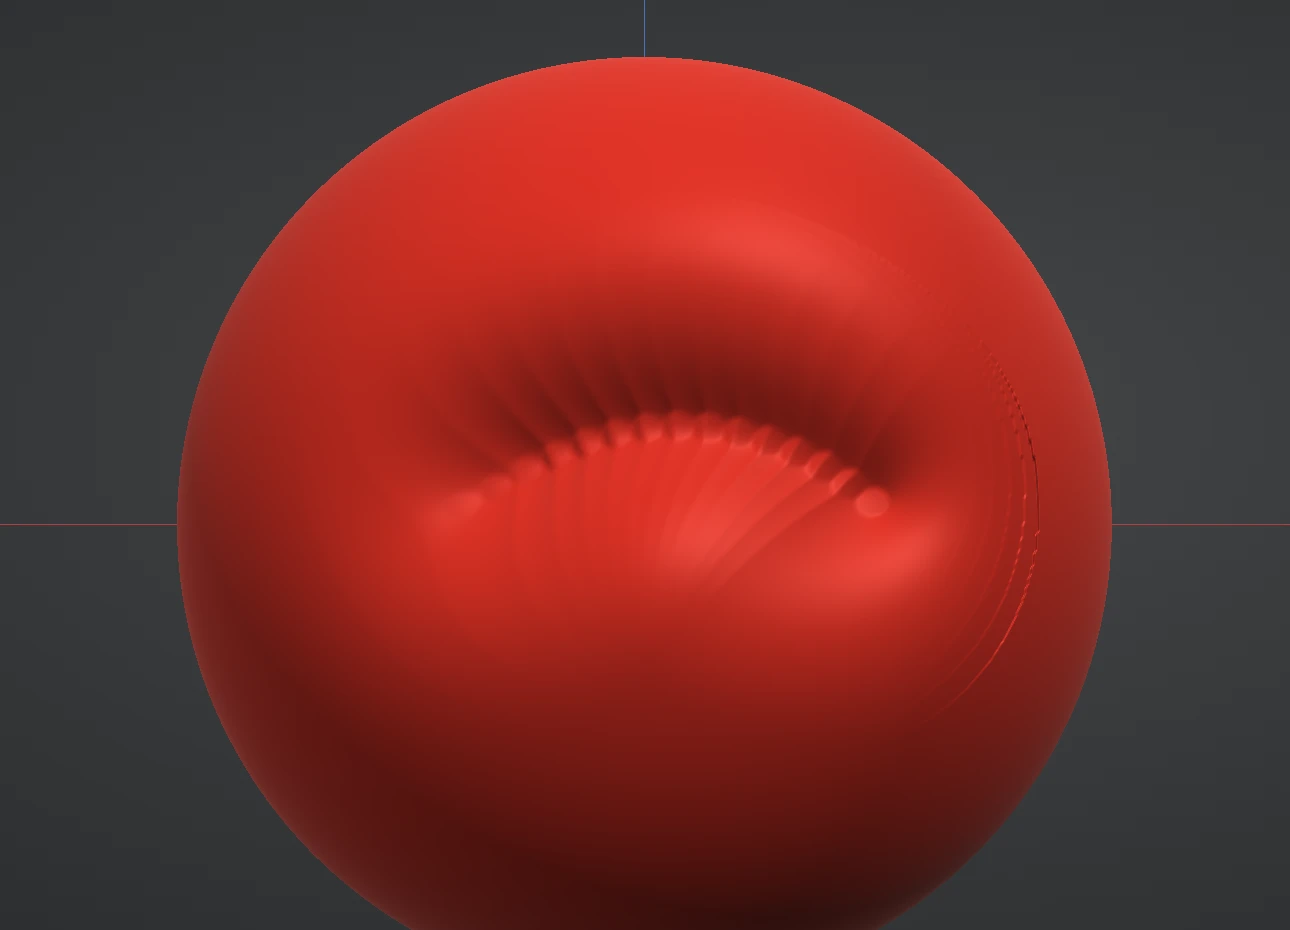
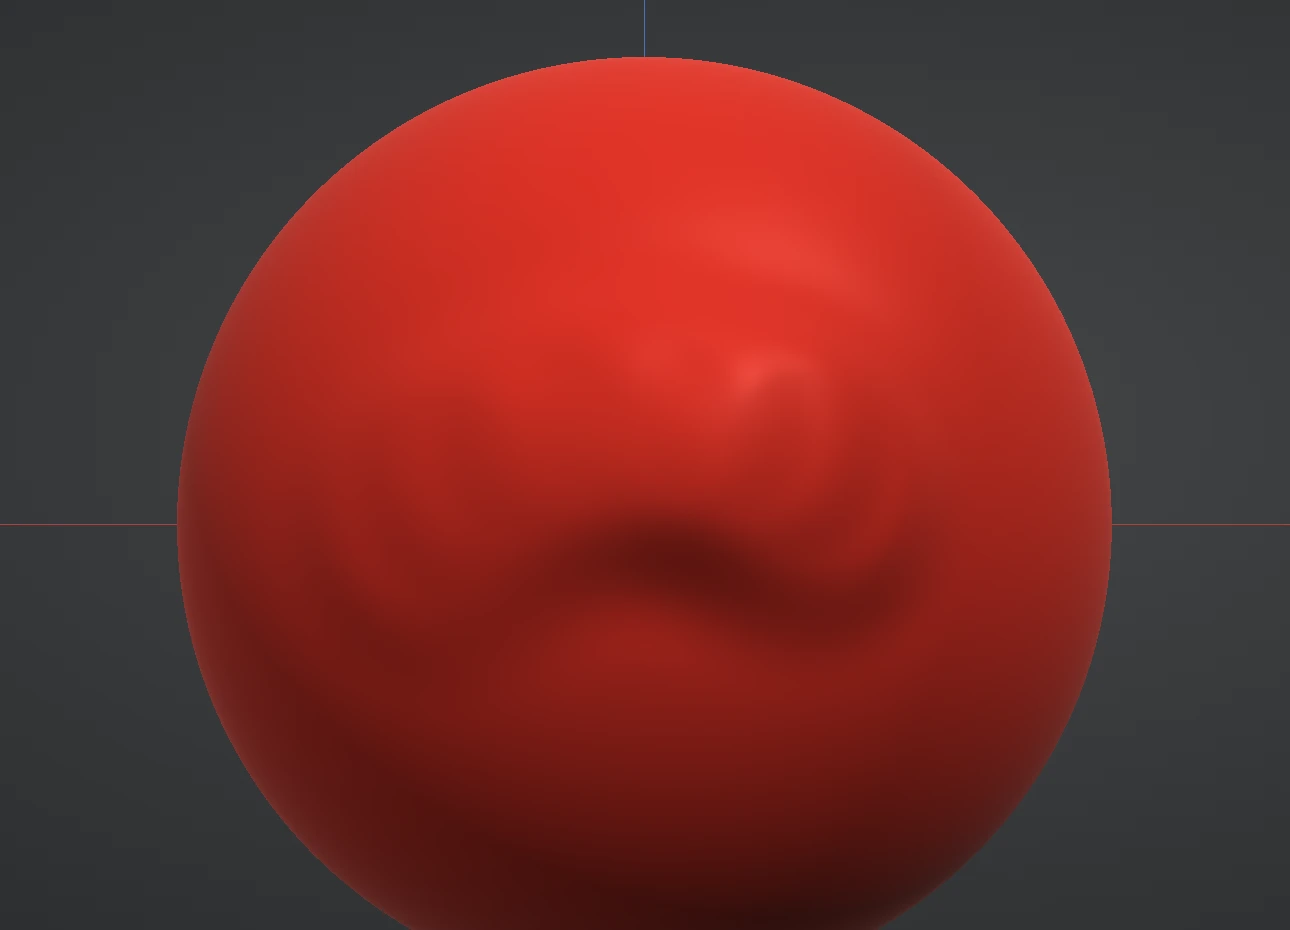
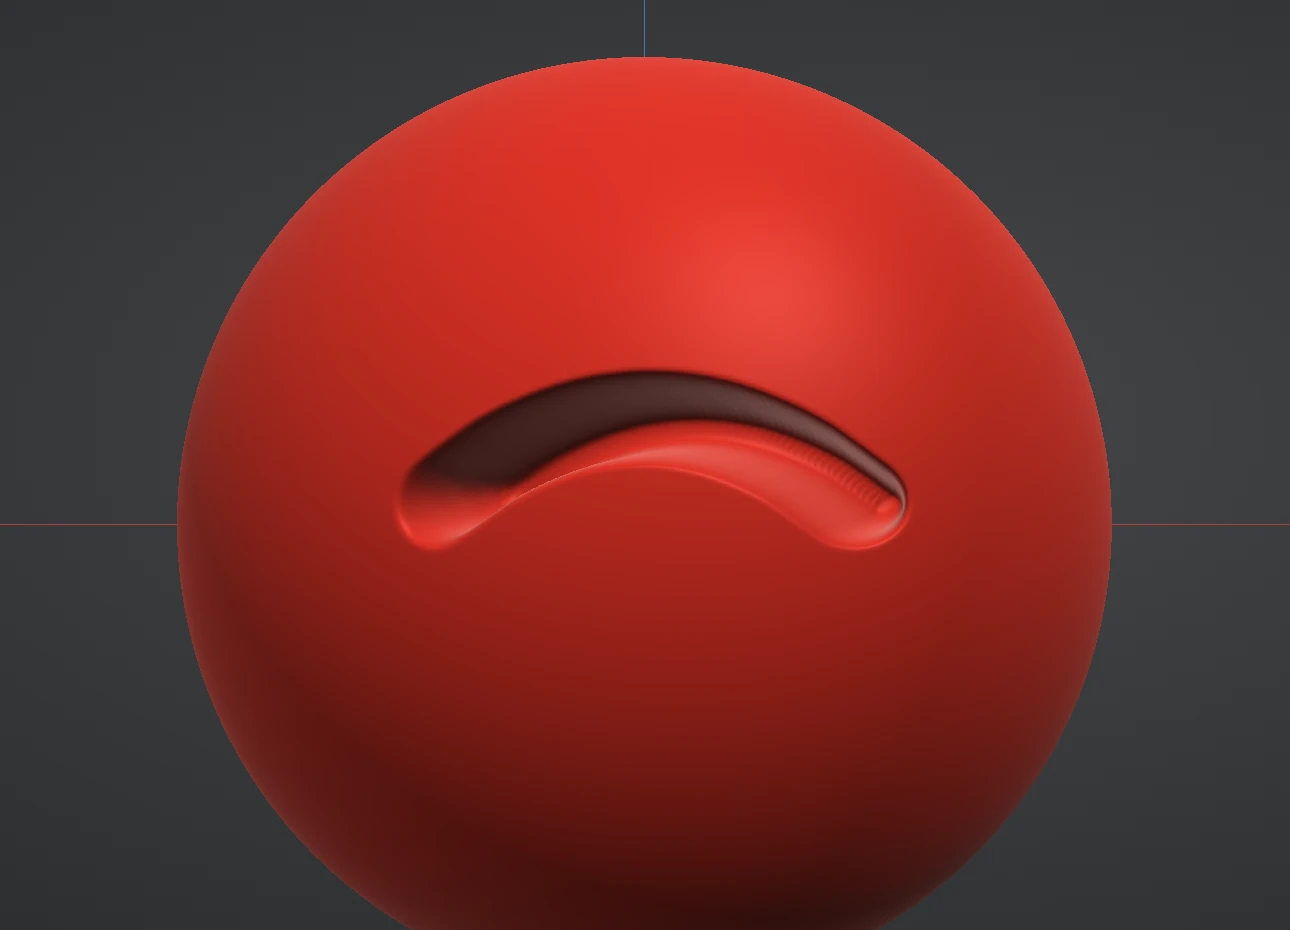
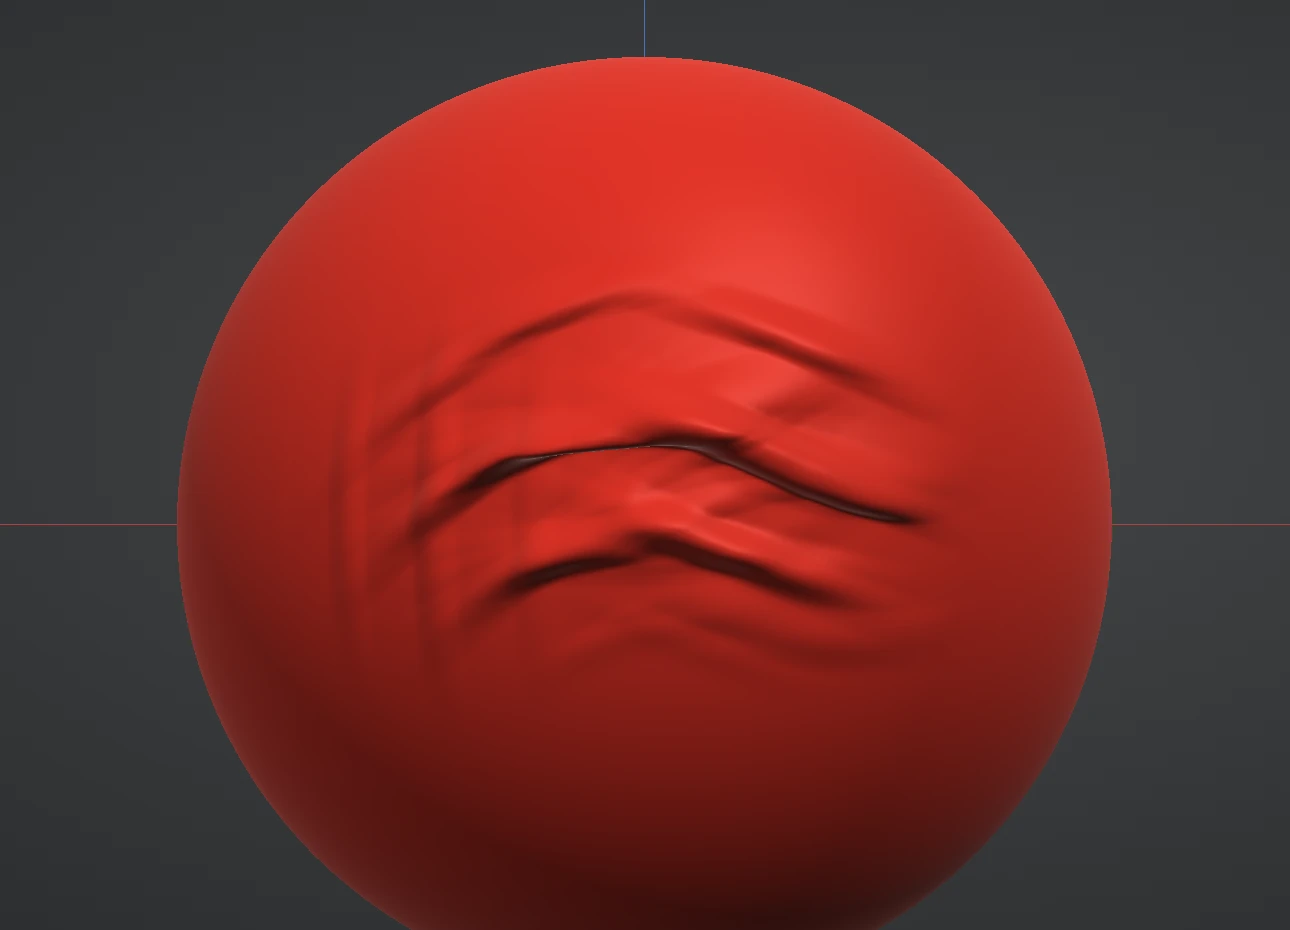
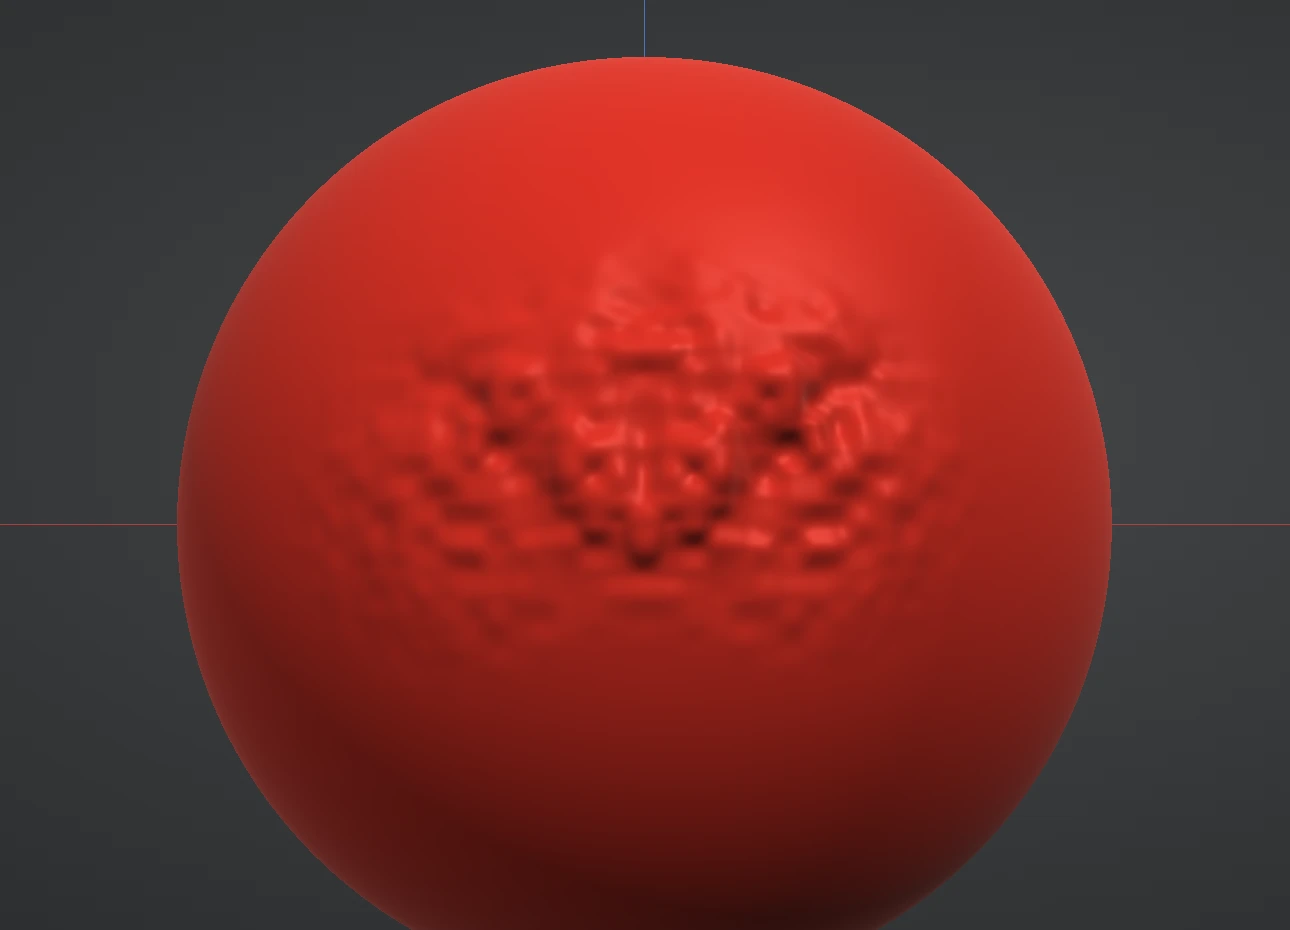
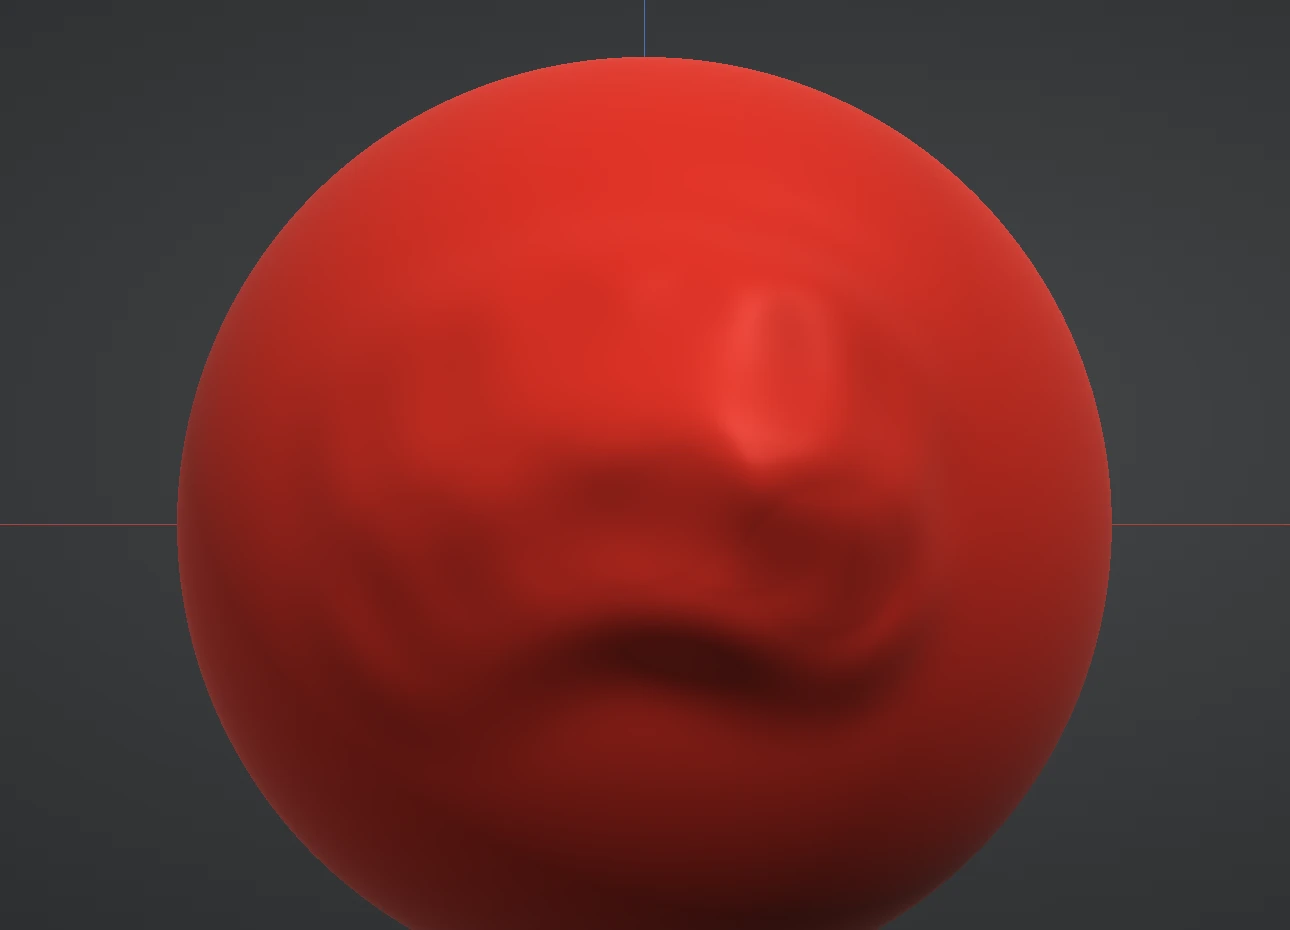
Every brush remembers its own Size, Strength, Falloff, Spacing, Drag and Jitter — switch away and back and it is exactly as you left it.
Falloff runs from −1 (softer than soft) through 0 to 1 (a hard edge), and typed values go past the slider's range.
Freehand, Line, Dot, Drag, Spray, Scatter (dabs strewn over a wider ring at random sizes, for pebbles, pores and scales) and Curve (drag, right-click to drop corners, release, and the dabs run along the curve), with a live preview of where the stroke will land.
Hold Ctrl to invert any brush, Shift to smooth with any brush, and turn on Accumulate to keep building while the brush is held still.
Draw Sharp and Crease cut true V-section lines that stay a clean single line no matter how slowly you draw them; Carve cuts one sharp groove that flows around curves, and Rake’s teeth bend with the stroke the same way; Clay lays flat-topped slabs that level as they build.
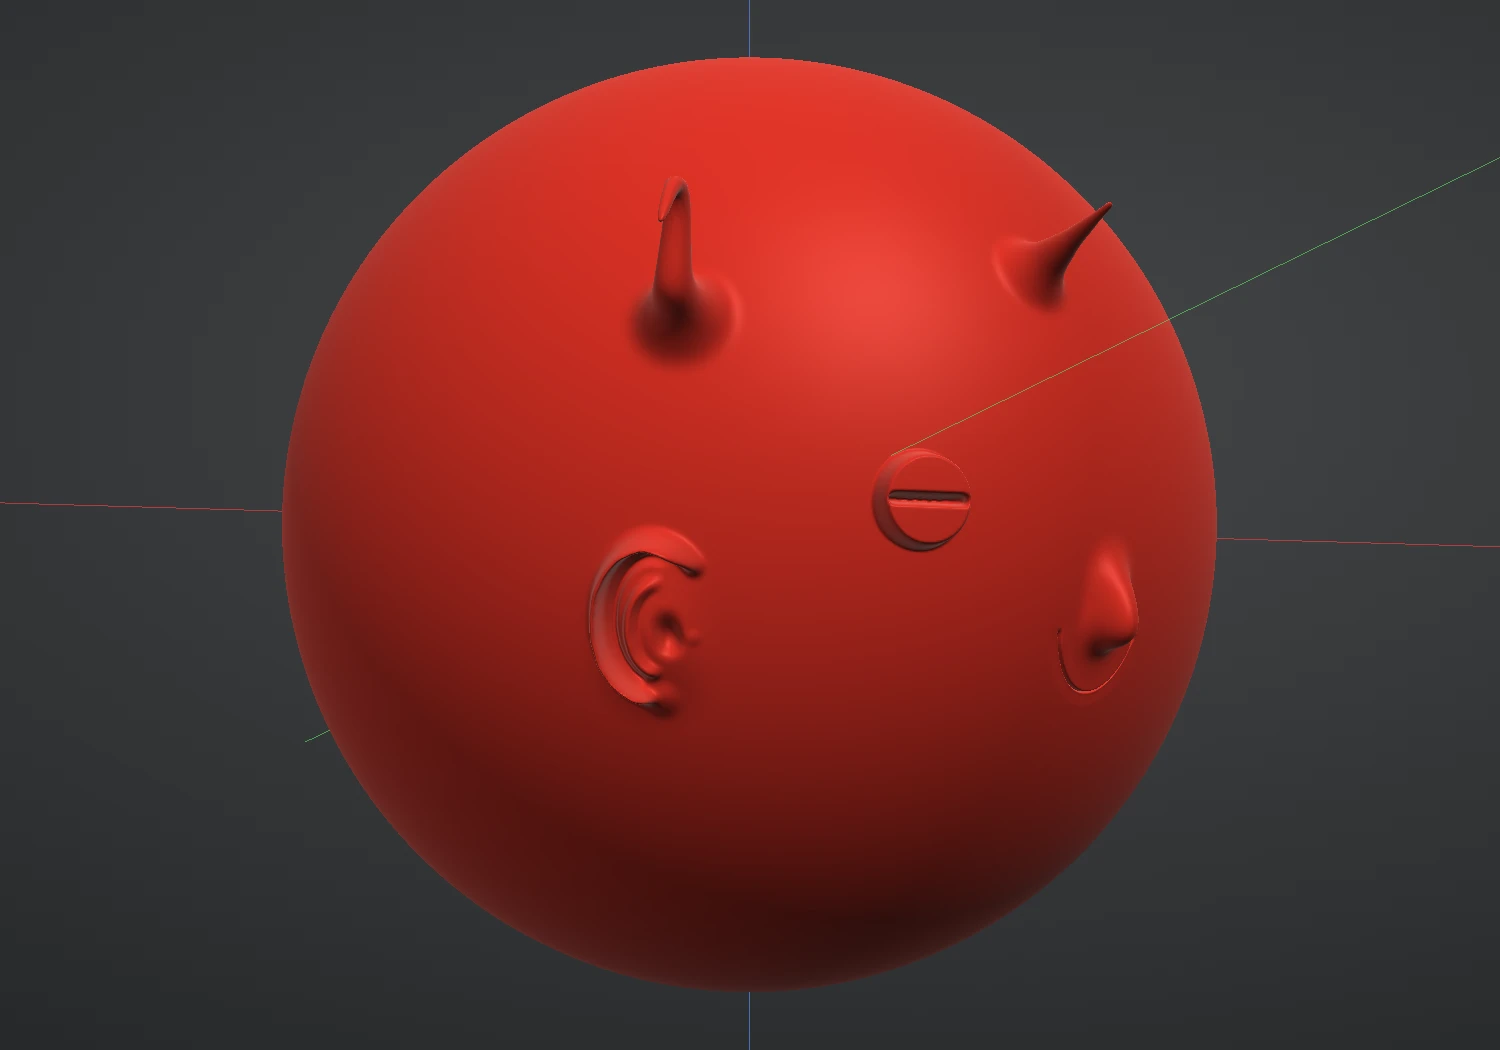
Press and drag, and a whole sculpted shape comes out of the surface, overhangs included: an ear, a horn, a bolt head, a scale, a spike. Sculpt your own on a sheet and capture it as a stamp; Ctrl presses it in, Symmetry mirrors it, and one stamp is one Undo.
Snake Hook pulls the surface along the drag and keeps pulling as the pointer moves, so one long drag draws out a horn, a tentacle or a spike; Falloff shapes the taper.
Morph brushes the surface back towards a stored shape: store a morph target, sculpt on, and paint back the parts you want as they were.
Record the strokes that make one scale, stitch or rivet, then click to put the whole thing on the surface under the pointer, turned to face it and sized by the brush. Drag to turn it, or switch on Repeat to lay it along a drag. Sculpt, paint and mask strokes can all be part of one, a play is one Undo step, and Scale, Stitch, Rivet, Scar and Pores come built in.
Save any brush with its settings, alpha and texture in My brushes, and swap brushes with other people as .brush files. Every plan.
Stabilize trails the brush behind the cursor on a taut string, for clean curves and steady lines. Backface keeps strokes off the far side of thin forms such as ears, lips and fingers. Clay feel lets strokes settle and build up like soft clay.
Switch on Colour and every dab that shapes the surface also lays down colour: the Primary colour, a texture, or the alpha image's own colours.
Any brush can stamp through a grayscale alpha: white builds, black leaves the surface alone. The alpha library opens with a starter set of the shapes sculptors reach for most — soft, hard and sharp dots, rings, squares, polygons, stripes, grids, noise, cracks, scales, bricks, stitches and more — generated in the app, nothing to download.
Brush settings and alphas → Make your own →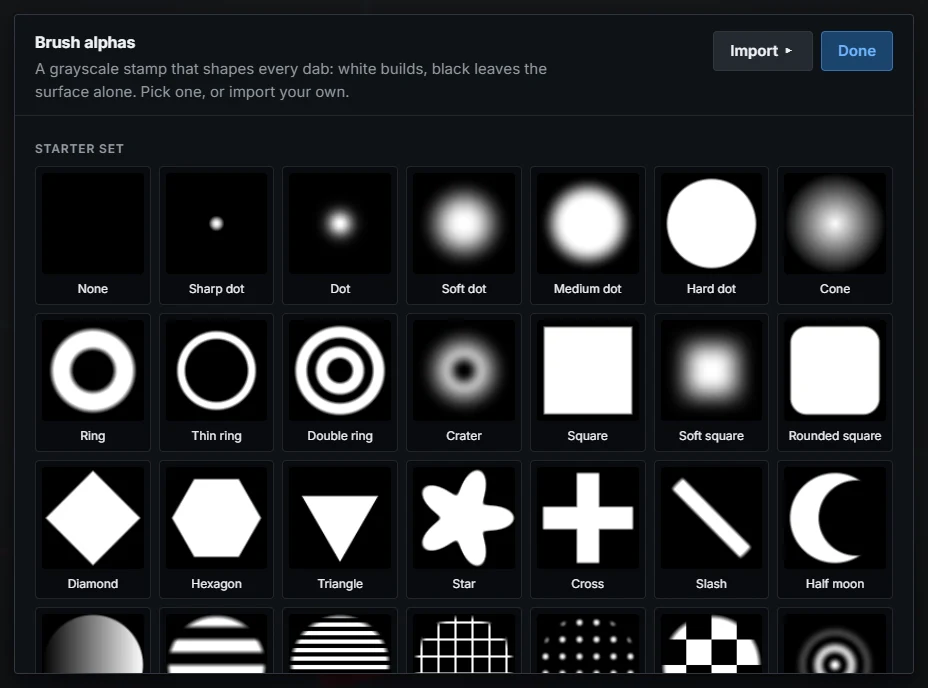
Import your own PNG, JPEG, WebP, TIFF or PSD alphas; they stay in the library for next time, and you can rename or remove them.
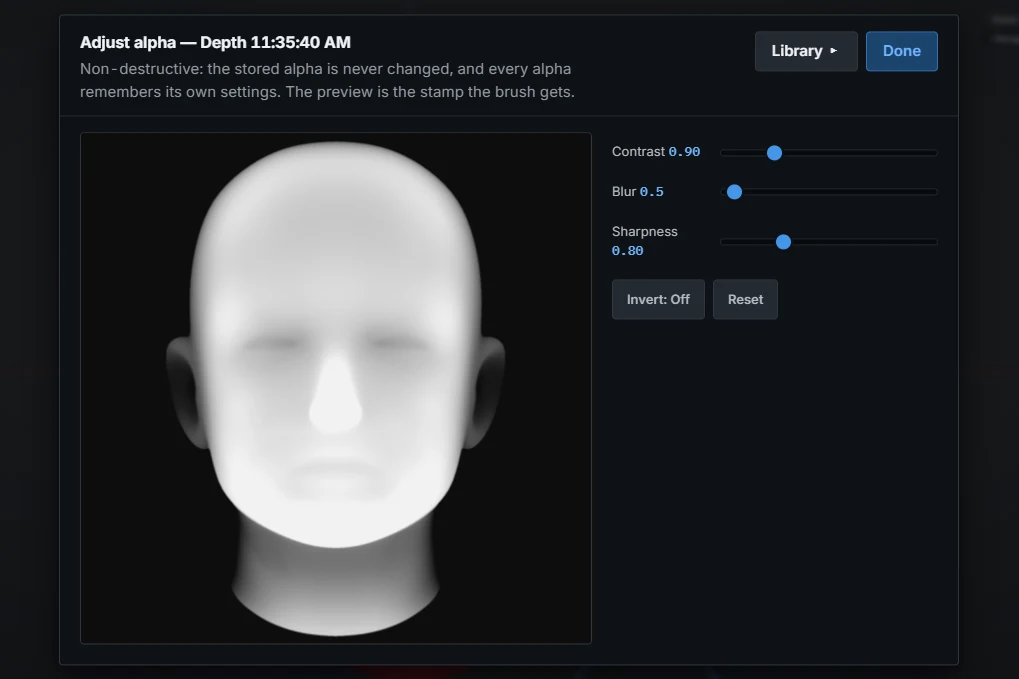
Contrast, Blur and Sharpness sliders shape the alpha live; Stamp or Roll it along the stroke.
Invert any alpha on any brush, and right-click the alpha for a large preview with every setting.
Image colours paints with the colours of the image itself in place of the Primary colour; the transparent parts of the image paint nothing.
Any shape you have sculpted can become a brush alpha. Press Capture under the alpha in the Brush panel, turn the model until the shape faces you, frame it in the square and capture it: the alpha joins your library and is on the brush at once, ready to stamp that shape anywhere else, on this sculpt or the next.
Brush settings and alphas →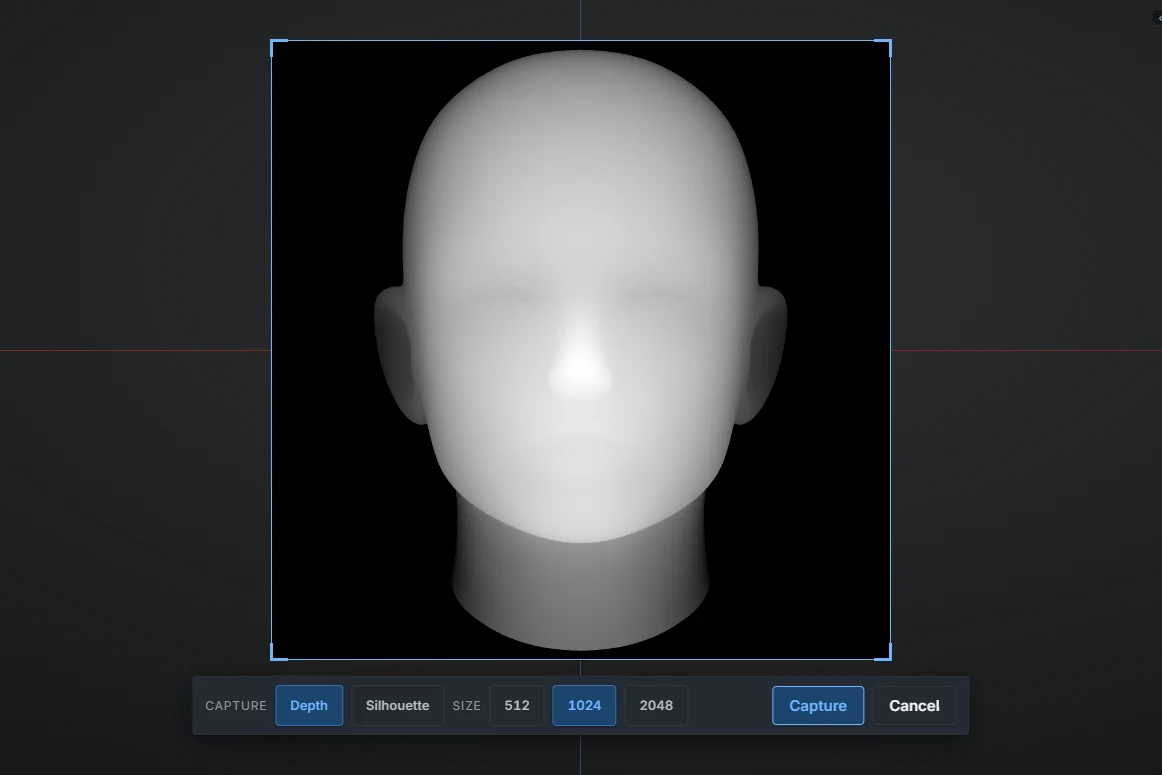
Depth makes a height alpha, the nearest surface white and the farthest black, stretched over the depth of the shape itself, so even a small ear comes out with its full range. Silhouette takes the outline alone.
While you frame the shape, the square shows the alpha it will capture, drawn again a moment after the view stops moving.
The capture is always taken straight on, whatever the view is set to, so the stamp sits flat wherever you put it.
Capture at 512, 1024 or 2048 pixels square. The alpha is kept at 16 bits, so smooth slopes stay smooth with no banding.
Right-click the alpha for the Adjust alpha window: a large preview with Contrast, Blur, Sharpness and Invert. The captured alpha itself is never changed, every alpha remembers its own settings, and Reset brings it back as it was captured.
A captured alpha is filed beside the ones you imported: rename it, remove it, and find it in the library next time.
Drag tubes, bars, planks and strands in the air or across a surface, and they melt together where they meet. Every stroke stays an editable curve until you press Finish, which builds one clean mesh on its own layer, ready to sculpt.
Blockout guide →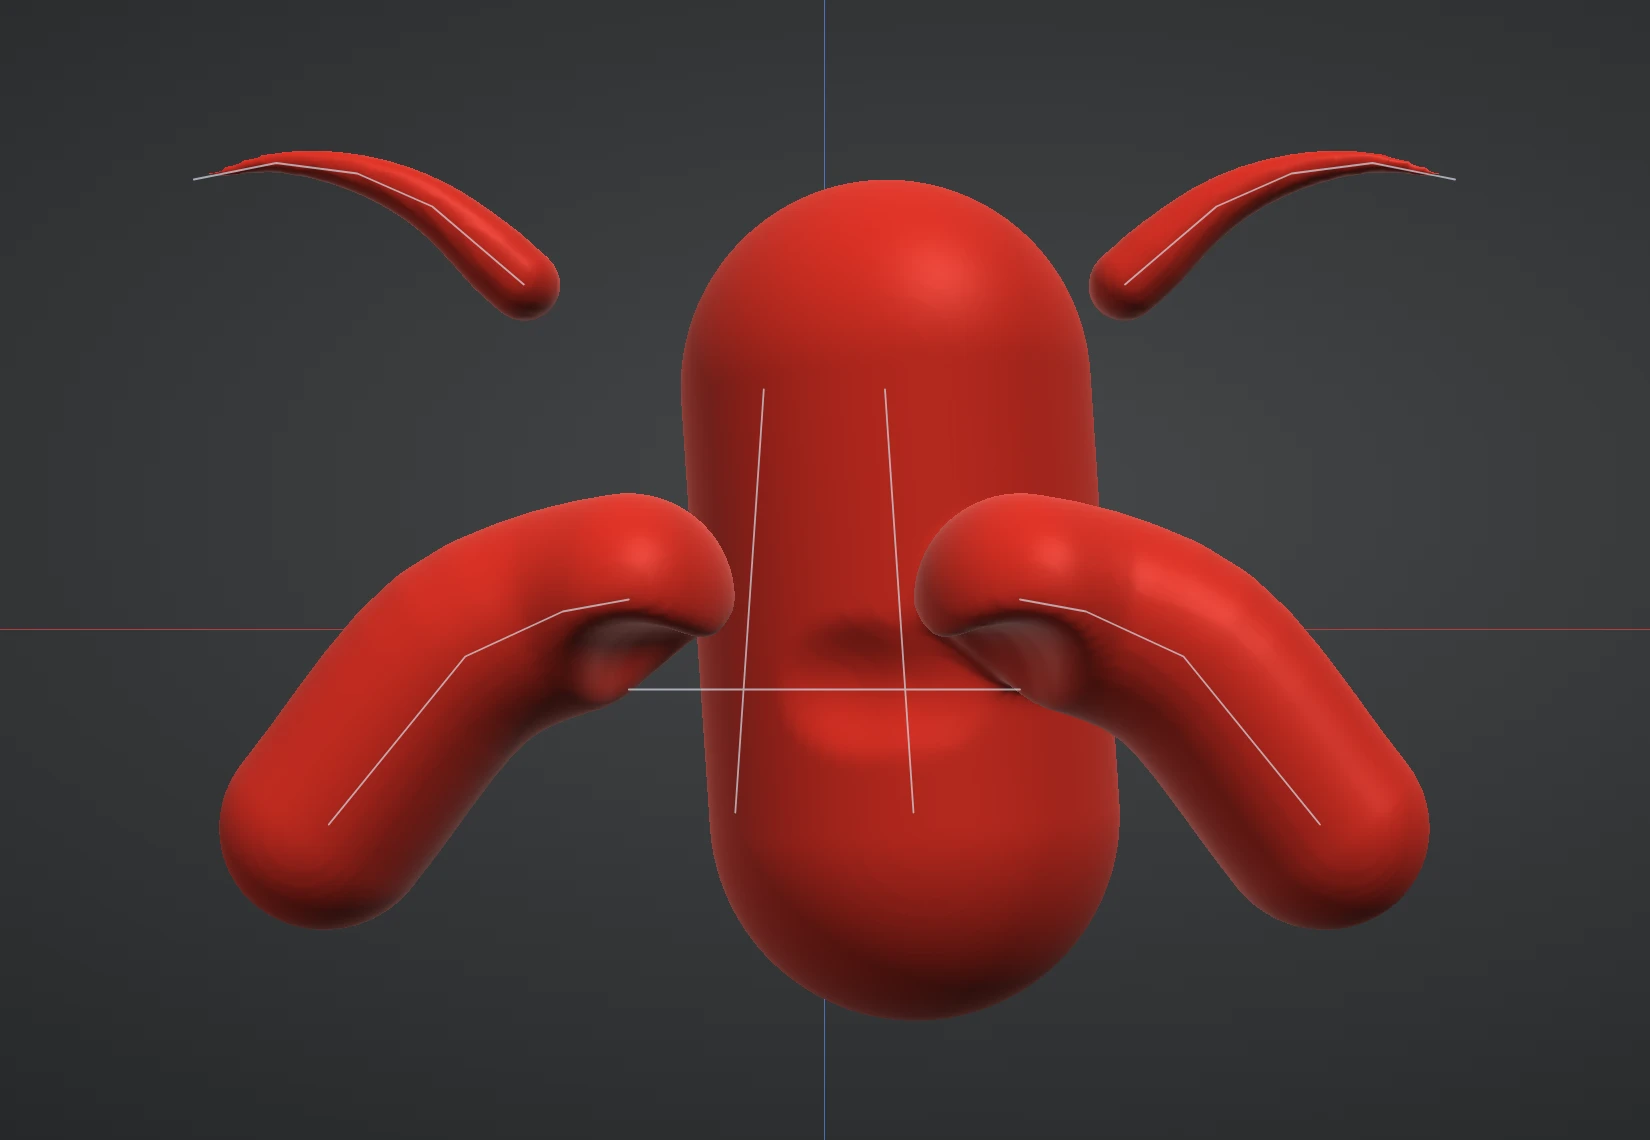
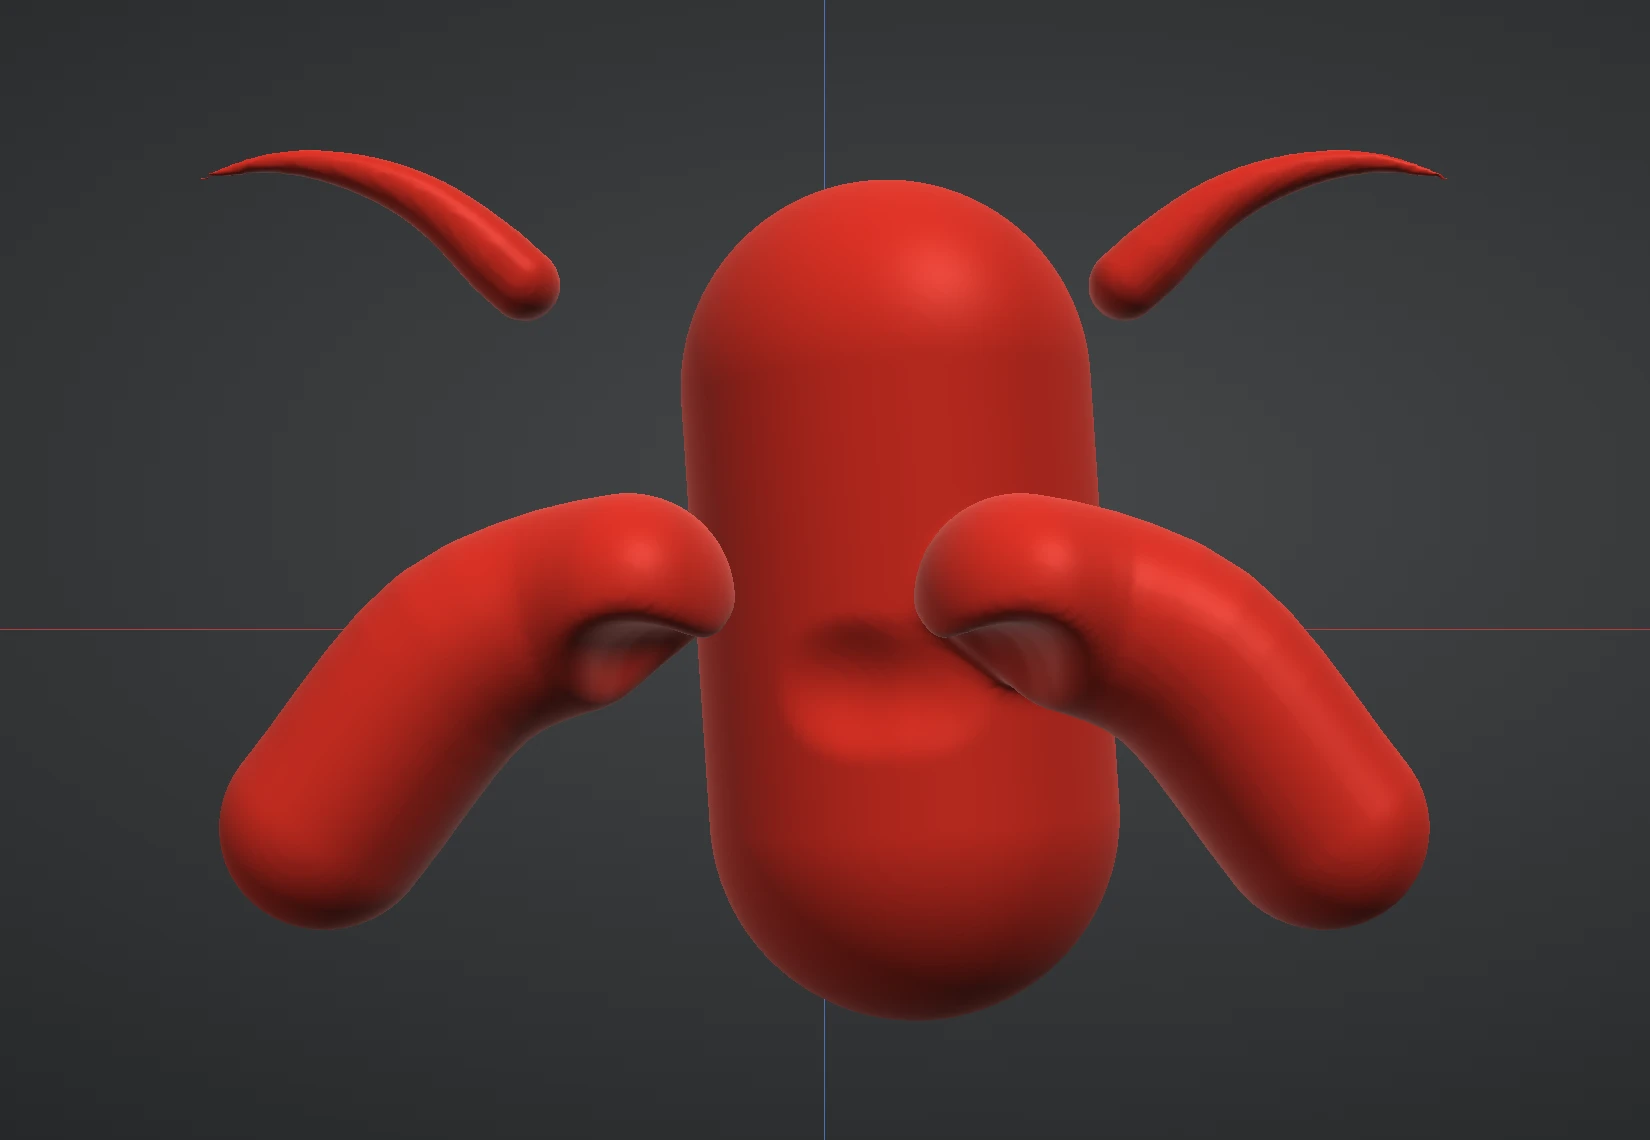
Strokes freehand, Curve for precise points with handles you can keep editing, Sketch, where you draw an outline (over a reference image if you like) and it becomes a solid with the thickness, edge, taper and inflate you choose, a flat plate with crisp edges, or a shape revolved round the centre line, and CrossForm, where a front outline and a side outline become the 3D form where they meet.
Round, square, triangle, hexagon or flat profiles, with domed or square ends and tapered tips for hair, horns and claws.
Hold Shift to see and select curves and their points, then move, rotate and scale them with the gizmo, add points or delete them. Strokes can rest on top of each other or melt in, and ends can merge into one curve.
Build a curve as a Blend that melts into its neighbours, or as a Sweep: an exact tube of its profile with sharp corners. Strands and Twist turn one curve into rope, cable or a twisted bar, and Strand offset parts the strands into separate cords.
Ctrl+drag carves, Alt+drag draws a straight stroke, and symmetry mirrors every stroke.
Pause and a refined preview appears; Finish sets the resolution and smoothing of the mesh, and gives every stroke its own Mesh Set.
To curve turns any stroke into a curve with the same shape, its points ready to edit. One Undo turns it back.
In Blockout, Build: Mesh lays copies of a sphere, box, cylinder, cone or another layer along any curve or stroke, each as wide as the curve there, with the spacing, a fit to the curve and a quarter turn for every second copy: chains, cables, stitches, beads and teeth. The curve stays editable, so move a point and the copies follow; Twist, Taper and Symmetry apply as they do to a tube.
Symmetry mirrors every stroke across the model's X, Y or Z axis, or any combination of them — and it follows the model, so a posed sculpt keeps its own mirror. Masks paint protection onto the surface: masked regions ignore strokes, and half a mask means half-strength strokes.
Symmetry and masking →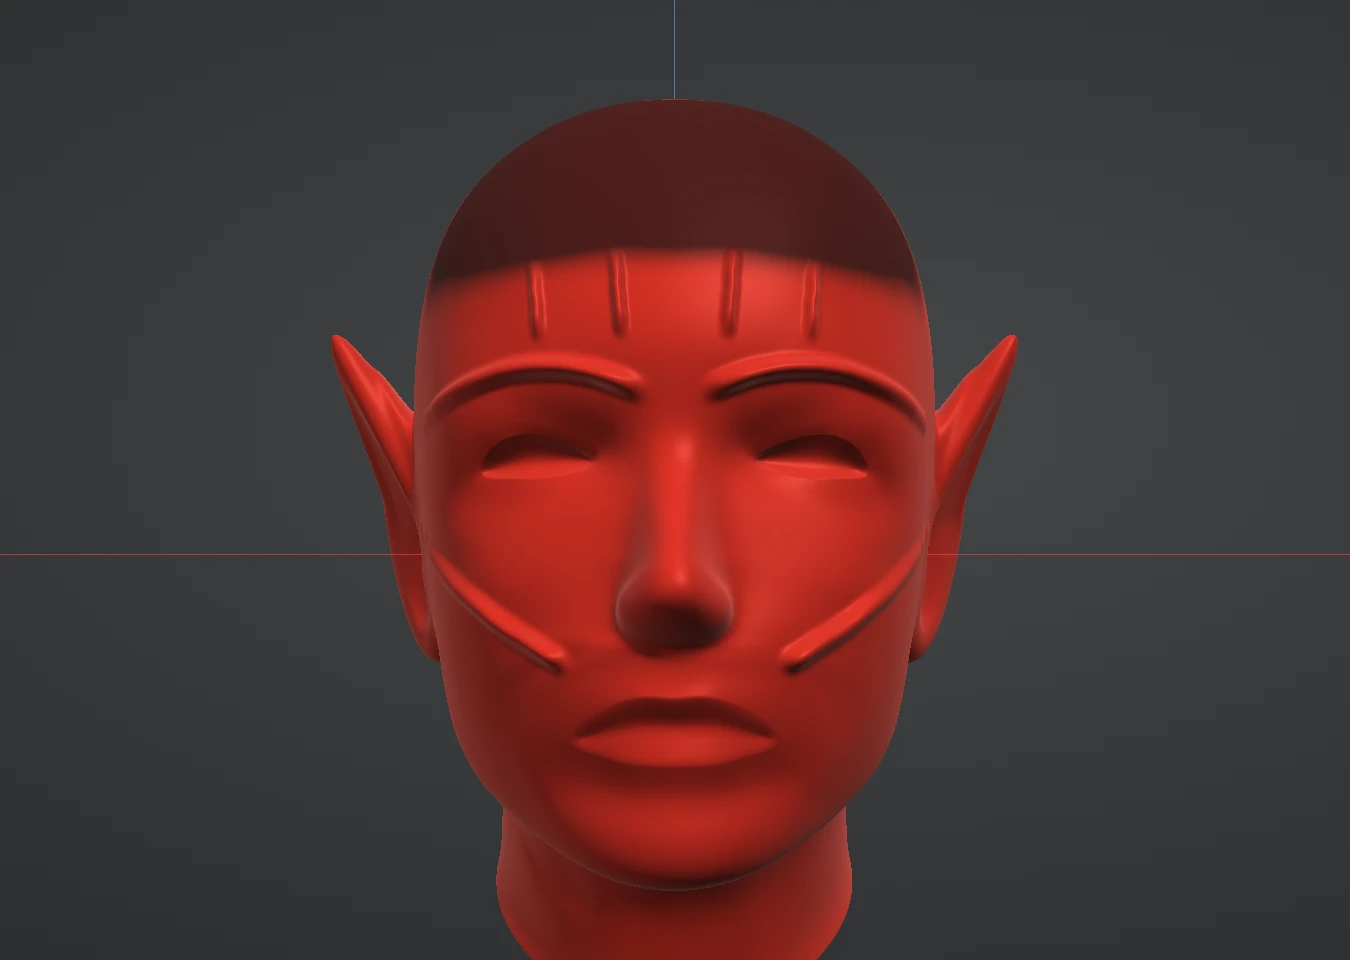
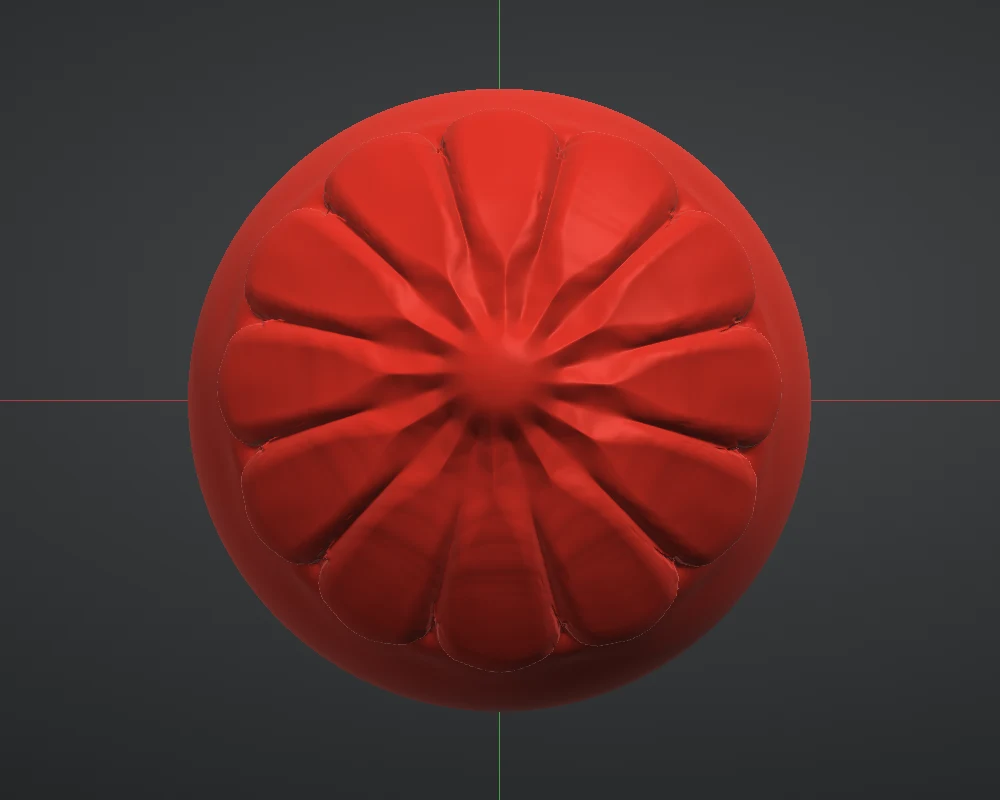
Radial symmetry lays every stroke 2 to 64 times around the X, Y or Z axis through the layer's origin point, evenly spaced, for flowers, wheels, ornaments and crowns. It works with the mirror axes, and with every brush, Grab included.
Grow, Shrink, Blur and Sharpen the mask, Invert it, or clear it — every mask stroke is undoable, and the filters run on the GPU at any density. The Mask section is always in the panel, whichever brush you hold.
Mask Expand spreads a mask along the surface from where you press, as far as you drag; or build a mask from the shape itself, by curvature or by how enclosed a place is.
Mesh Sets name the parts of a model: make them from a mask, by angle, by colour or automatically, then hide a set, mask by set, or split each set onto its own layer.
Extract lifts the masked area off as a closed, thickened piece on its own layer; Shell Extrude divides the surface along the mask into gapped panels with softened edges. Both preview live and never touch the source layer.
Transforms respect the mask, and with Symmetry on, a masked move is mirrored too: pull one ear out and the other comes out with it.
A transform gizmo moves, rotates and scales a whole layer or just the unmasked part of it, about a pivot you can place anywhere. Hold Ctrl for snapping detents. The Grab brush pulls the surface directly for the small adjustments.
Grab and transforms →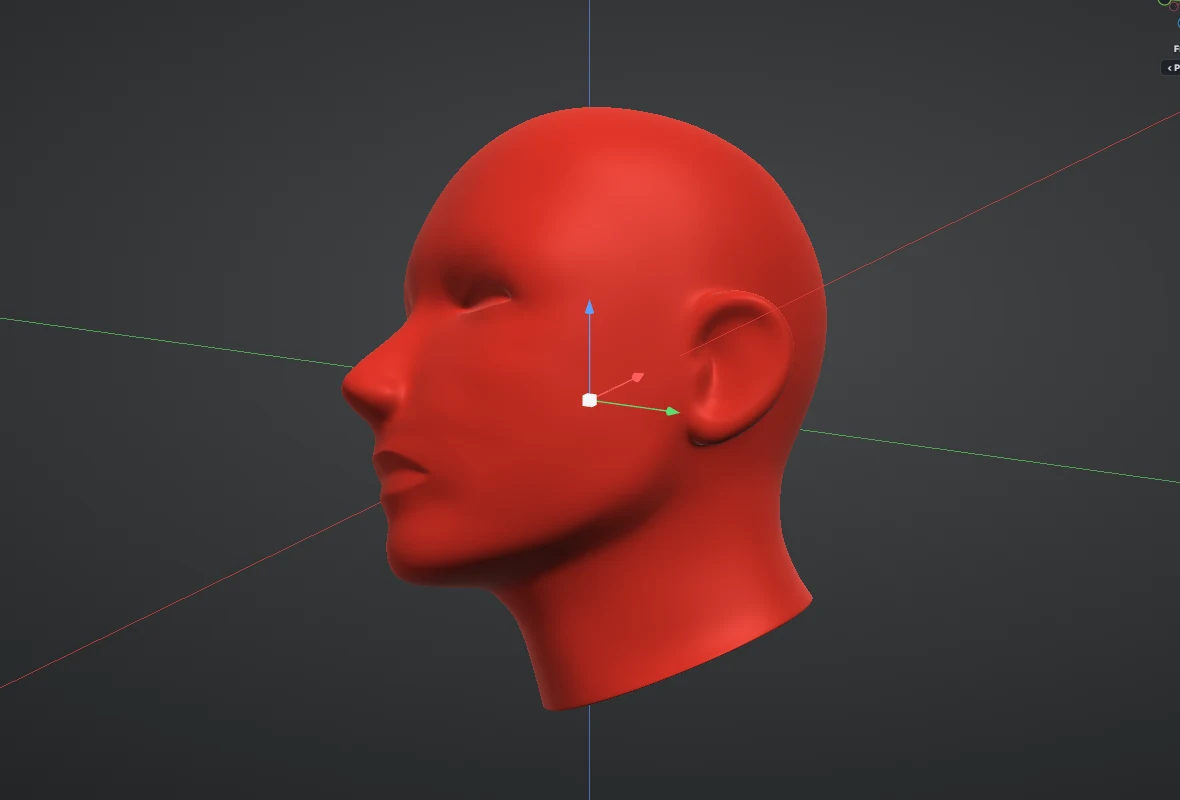
Pick the Pose tool and click a part, such as a forearm. Everything else is masked, the gizmo sits at the joint with its axis along the limb, and a turn bends the part there, spread smoothly across the joint by Joint softness.
Reset origin puts the gizmo back at the centre of the world, upright, without moving the model.
The gizmo's handles follow the layer's own axes and turn with it, or stay on the world's. Unlock the origin and the handles move the layer's origin point, the point it turns and scales about, without moving the model.
As many triangles as the form needs, where it needs them, and clean topology when you are done.
Subdivision runs on the GPU at every level, so a blockout becomes a multi-million-triangle sculpt in seconds and the brushes keep up. The mesh lives in graphics memory the whole time; nothing round-trips through the CPU between strokes. How far you can push it comes down to your graphics card: a capable desktop GPU with 8 GB works comfortably in the tens of millions, a laptop or tablet GPU is happiest a few levels lower.
Subdivision guide → Decimate →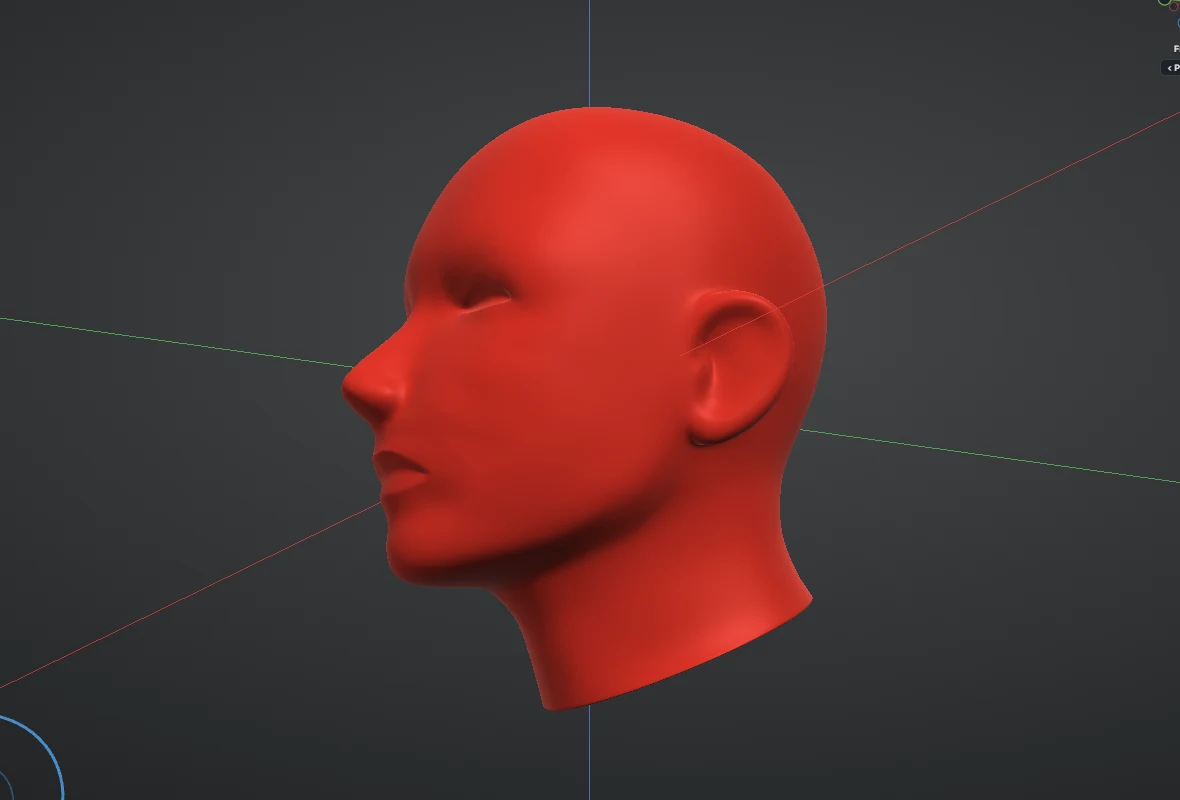
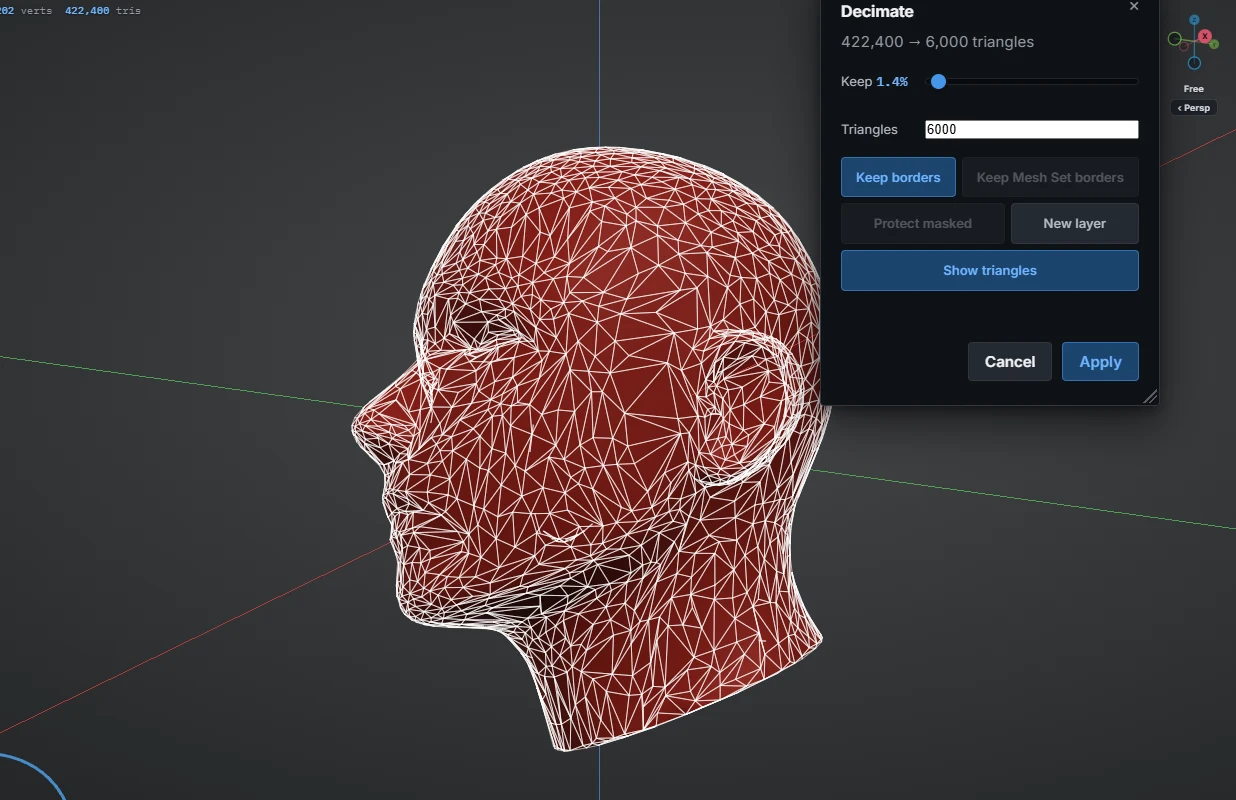
Subdivide up and back down, with the live triangle and vertex counts always on screen. A mesh with an open border (a Plane, an import with holes) subdivides on the GPU like a closed one, its border kept as a clean curve.
Every level keeps its own detail. Step down to change the big shapes, step back up and the fine work is still there. Delete the levels above or below when you are done with them.
Switch it on and the mesh adds detail only where your brush goes, and takes it away where you smooth. Free for everyone.
Mark the edges that should stay sharp, by angle, and Subdivide keeps them as crisp lines level after level while the surface beside them smooths. The marks follow the mesh up and down the levels and save with the project.
Take any mesh down to the triangle count you choose, previewed in the view before you apply it, with paint, mask and Mesh Sets kept. Under Tools. The preview draws the reduced mesh's triangles in white over the model, so you see what a count leaves you.
A stroke remembers only the points it changed, so the history runs to many more steps on the biggest meshes and takes no graphics memory.
The Free plan sculpts to 12.5 million triangles; Pro lifts the ceiling to eighty million for machines that can carry it.
Weld merges vertices closer together than the distance you set and drops the flat triangles left between them, to close a seam or tidy an import. Flip normals turns a surface inside out without moving anything you sculpted.
Reflow turns a dense sculpt into quads that follow its shape. Ask for a count and it lays them, previewed over the sculpt as you work; draw guides where you want an edge loop and move the irregular points to where you want them. It is automatic retopology when you want speed and manual retopology when you want control, in one tool.
Reflow guide →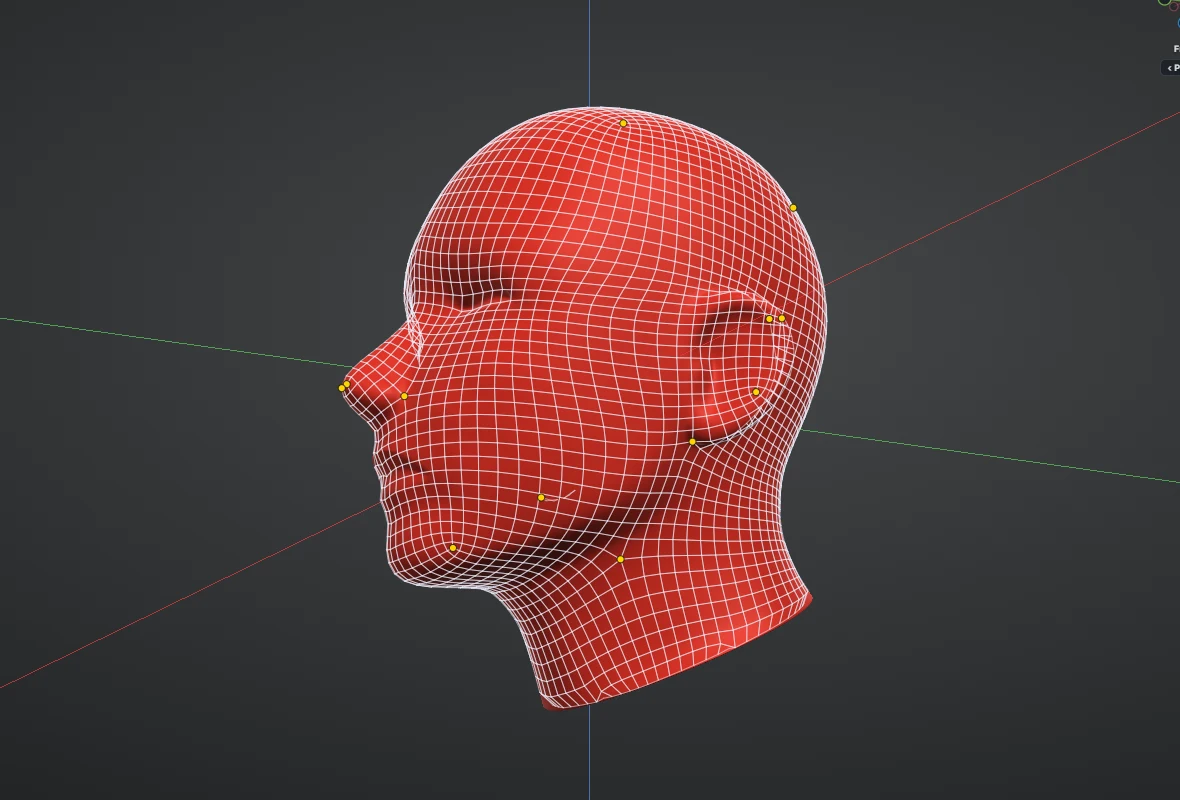
Turn a dense sculpt into clean quads that follow its shape, at the quad count you ask for. The quads preview over the sculpt as you work, with a progress bar while they are laid, and a Smoothness slider sets how soft the finished quads lie on the sculpt. OBJ and FBX exports keep the quads.
Draw the edge loops yourself as guide lines, freehand or point by point, paint density where you want more quads, switch on Guide network and shape the grid region by region, and drag a yellow irregular point to where you want it. Run it again after an edit and the quads you did not touch stay exactly where they were; round a moved point the preview is laid again in a moment, the rest untouched.
Guides are light blue lines with square points you can drag; a guide point dropped near a yellow point snaps onto it. The round yellow points are the irregular points, where three or five rows meet: drag one and the rows are laid afresh around it, as smooth as the first layout.
Reproject pulls the layer you are on onto the surface of the other visible layers: Reflow a sculpt, subdivide the result, press Reproject and the detail is back on clean topology. A Distance slider limits how far it may move a point. In the Topology section.
Use symmetry lays the quads on one side and mirrors them, so the two sides match exactly. Keep hard edges runs rows along the sharp edges so corners stay crisp, and Keep Mesh Sets runs rows along the borders between sets and keeps the sets. Half, Same and Double set the count from the mesh you have.
Stretched triangles fight the brushes. Remesh is a voxel remesh: it rebuilds the whole surface through a voxel grid into clean, even triangles at the resolution you choose — without losing the form — and you keep sculpting like nothing happened. That is voxel sculpting as a way of working: pull the form anywhere, remesh, carry on. Imported meshes get the same treatment.
Remesh guide →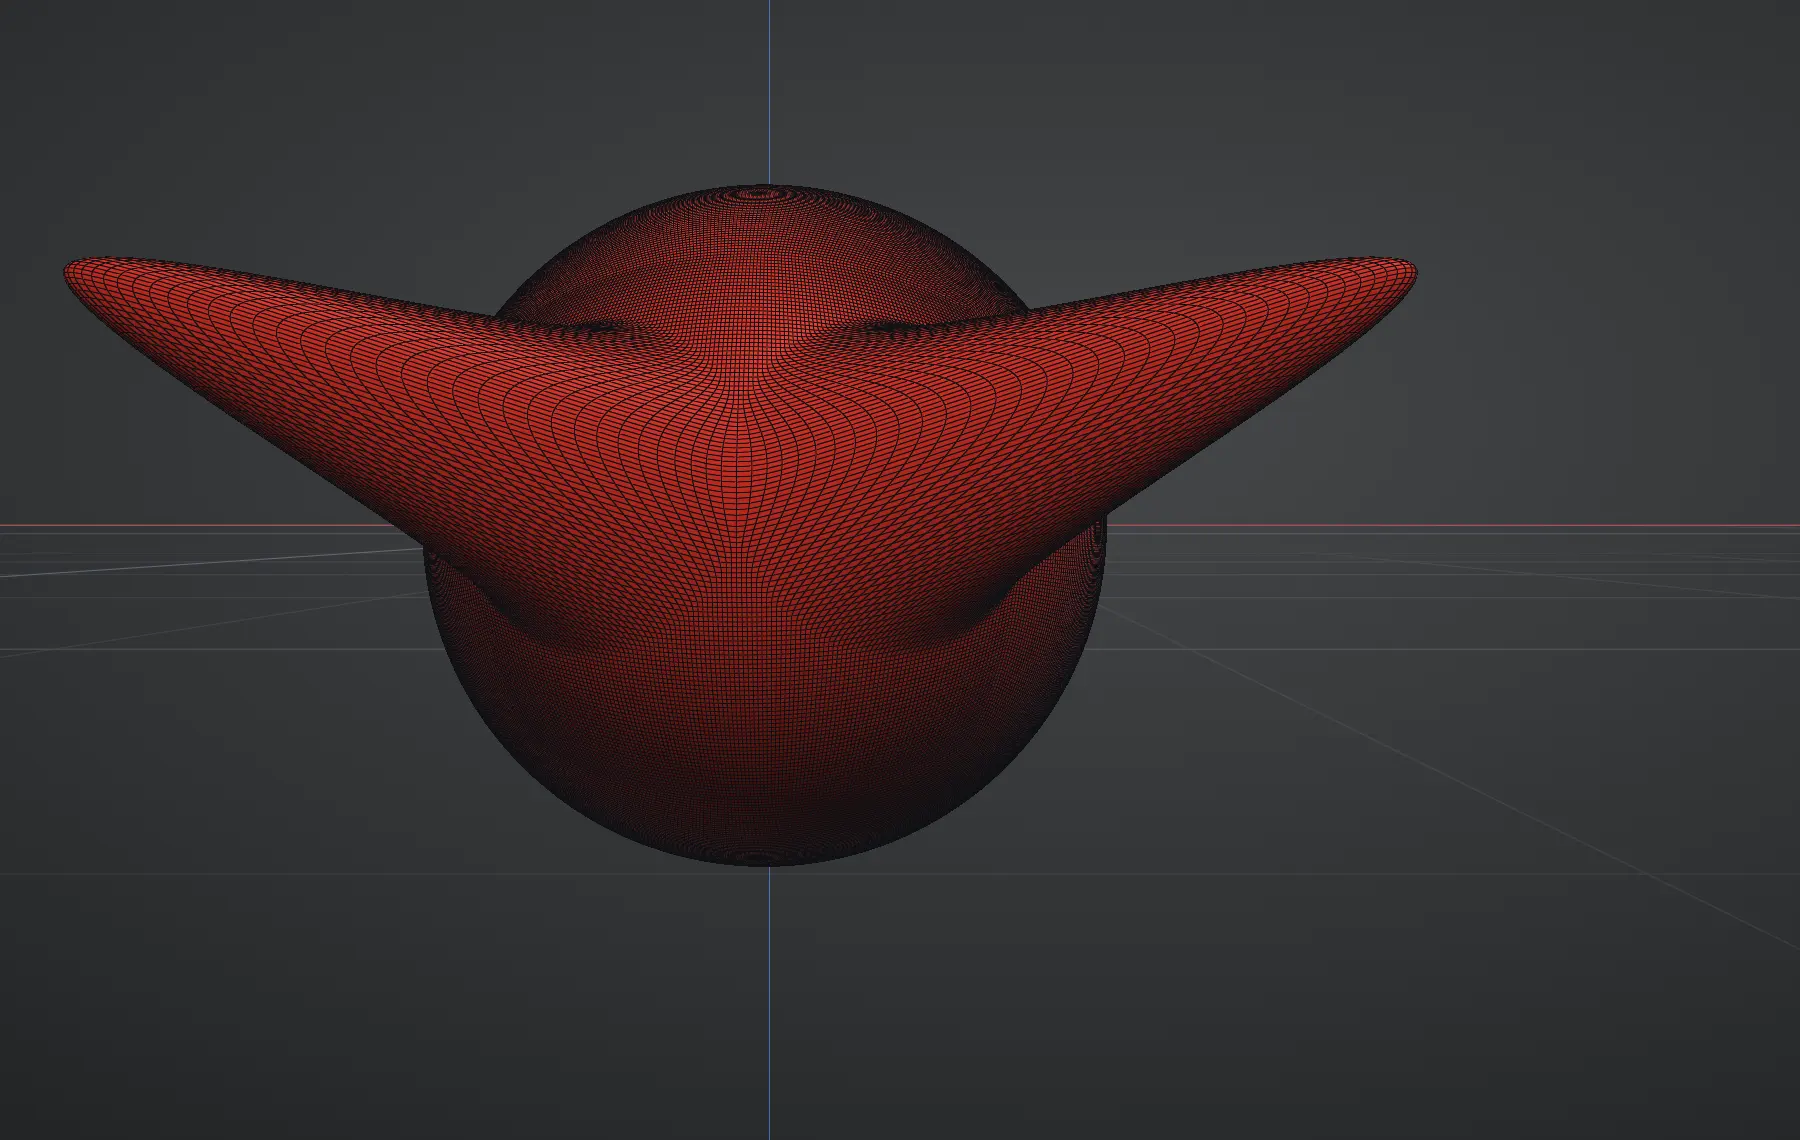
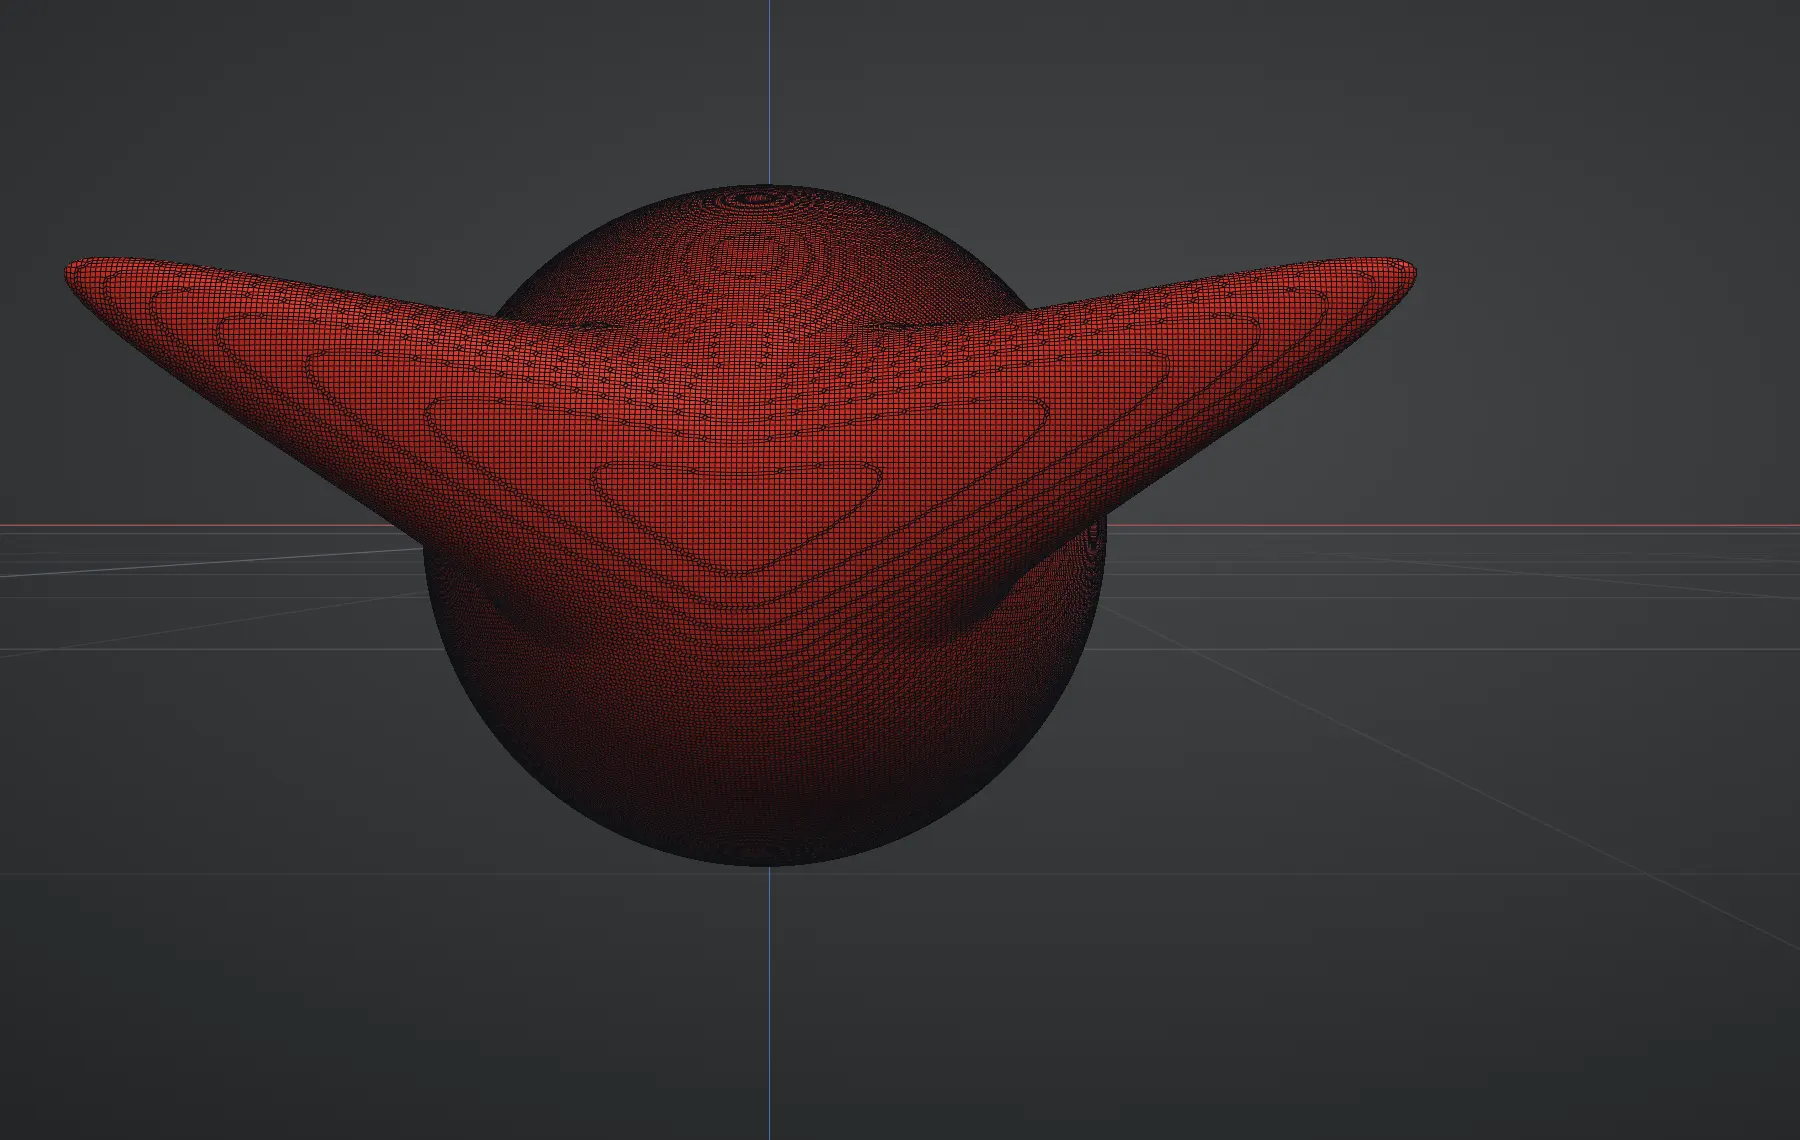
Takes meshes up to 25 million triangles and joins overlapping parts into one solid, with a progress card and a Cancel that changes nothing.
Tools ▸ Boolean joins the active layer with another layer, cuts the other out of it, or keeps only where they overlap, through the same remesh, so the result is always one clean watertight solid. The other layer is left as it is.
A Sharpness slider keeps hard edges and corners crisp, or lets them soften; Keep sets carries your Mesh Sets across.
Close holes fills every opening with a smooth patch without rebuilding the rest of the mesh.
Two of its steps run on the GPU, so a Remesh at Resolution 256 takes about four seconds instead of seven.
The Smooth brush keeps a remeshed surface even: no pinch marks, and the grid stays square.
Split a sculpt across layers — a sphere for the head, a cube for the base, a duplicate to try something risky. Reorder them, hide them, merge down, merge everything, or split a multi-part import into one layer per piece.
Working with layers → Passes →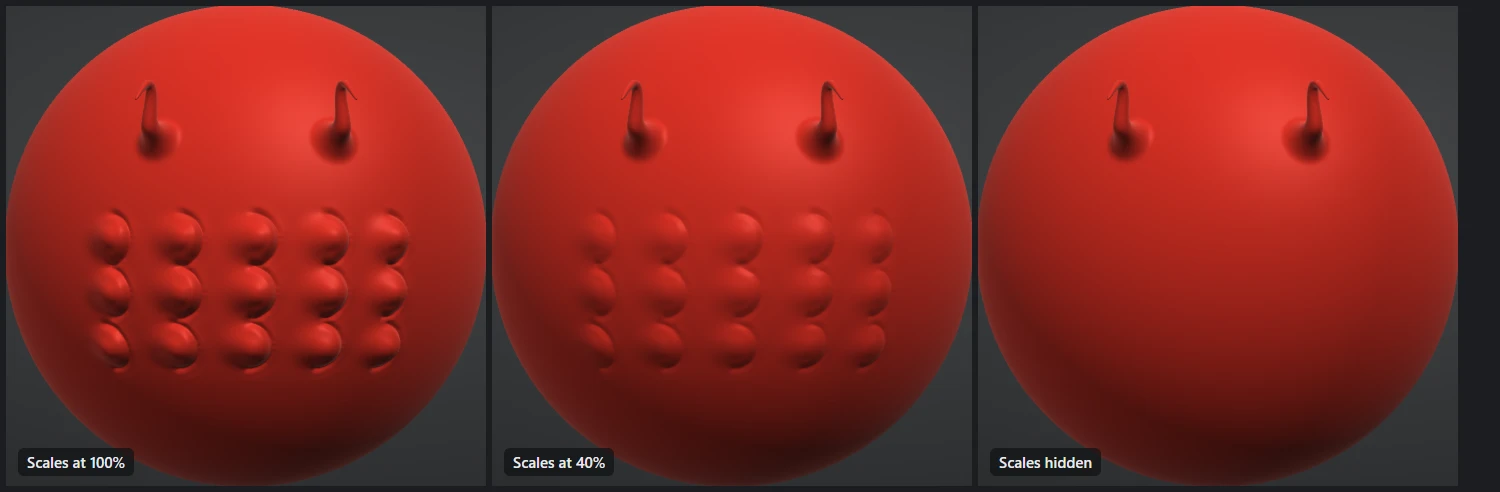
Passes keep detail separate on a layer: add a pass, sculpt into it, then turn it down with its Strength, hide it or delete it, and the shape under it is untouched. Each layer has its own stack; passes follow the layer when it is moved, mirrored or duplicated, and are saved with the project.
New layers start from a shape of your choice: sphere, cube, cylinder, cone, capsule, egg, teardrop, pebble, rounded cube, torus or plane, or a head or ear base mesh.
Focus shows only the layer you are working on; Fade turns the others see-through so it shows through them.
Mirror a layer across the symmetry axis in one press.
Layers ride along inside saved projects, exactly as you left them.
Split loose gives every separate piece its own layer, Split Mesh Sets gives every set its own layer, and Split masked cuts the masked area off onto a layer of its own. Delete masked cuts it away instead.
The Tools menu works on the active layer as a whole. Each tool opens a small window you can drag out of the way, shows its result on the model as you move a slider, leaves masked areas alone, and is one Undo.
Array, Reshape, Surface noise, Inflate and Polish →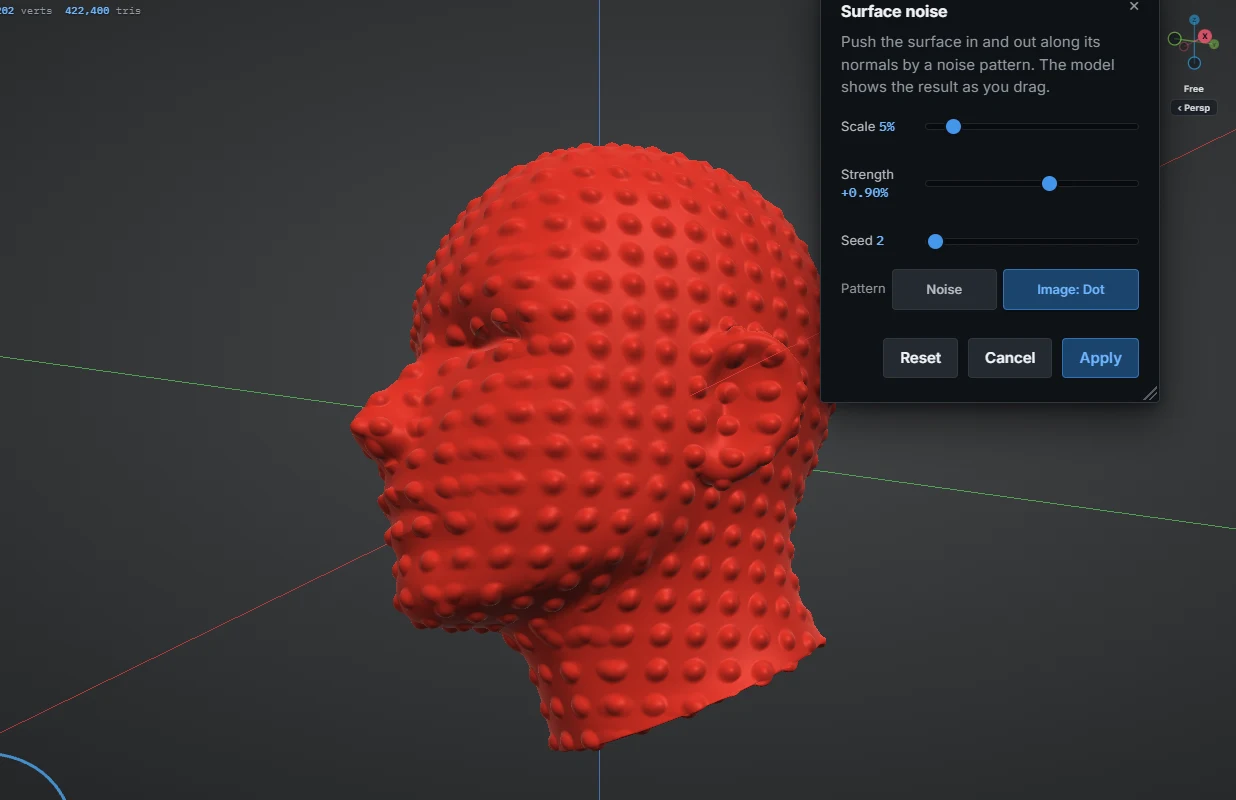
Tools ▸ Surface noise pushes a layer in and out along its normals by a noise pattern, from fine grain to a broad swell, with Scale, Strength and Seed on sliders and the result shown on the model as you drag. The mask protects what is masked. Or pick any alpha from the alpha library as the pattern: it is tiled over the layer, white pushing the surface out and black leaving it. Blend it your way: Detail and Contrast shape the pattern, Raise only, Carve only or Replace detail decide how it meets the surface, and Mask by curvature lays it only in the creases or only on the ridges.
Tools ▸ Inflate swells the whole layer outward along its surface, or shrinks it inward, by the amount you set.
Tools ▸ Polish flattens bumps and brush marks up to a Bump size you choose; the broad shape and the size stay, and it works the same on a light layer and a heavy one.
Tools ▸ Reshape bends, twists, tapers, flares and stretches a layer about its origin point, along X, Y or Z, one slider each, shown on the model as you drag. The mask protects what is masked, and one Undo takes it back.
Tools ▸ Array makes copies of a layer in a row along X, Y or Z, or in a ring around an axis, with the count, spacing, angle and radius on sliders and the copies previewed live in the viewport. Apply keeps them as one layer or gives every copy a layer of its own.
Every tool window drags by its title, resizes from its corner, closes on its cross, and opens where it always starts.
Paint on the sculpt itself, and see the form in the material that suits it.
Paint straight onto the sculpt. The Paint brush lays colour, roughness and metalness; Blend, Blur and Smear work the paint like wet media; Fill floods the piece you click. An eyedropper picks any colour already on the model, and the colours travel into GLB exports. The Project brush lays a photo or texture over the viewport and paints it onto the surface wherever you brush. Every plan keeps your own brushes, alpha and texture included, in My brushes and as shareable .brush files.
Painting guide → Roughness and metalness →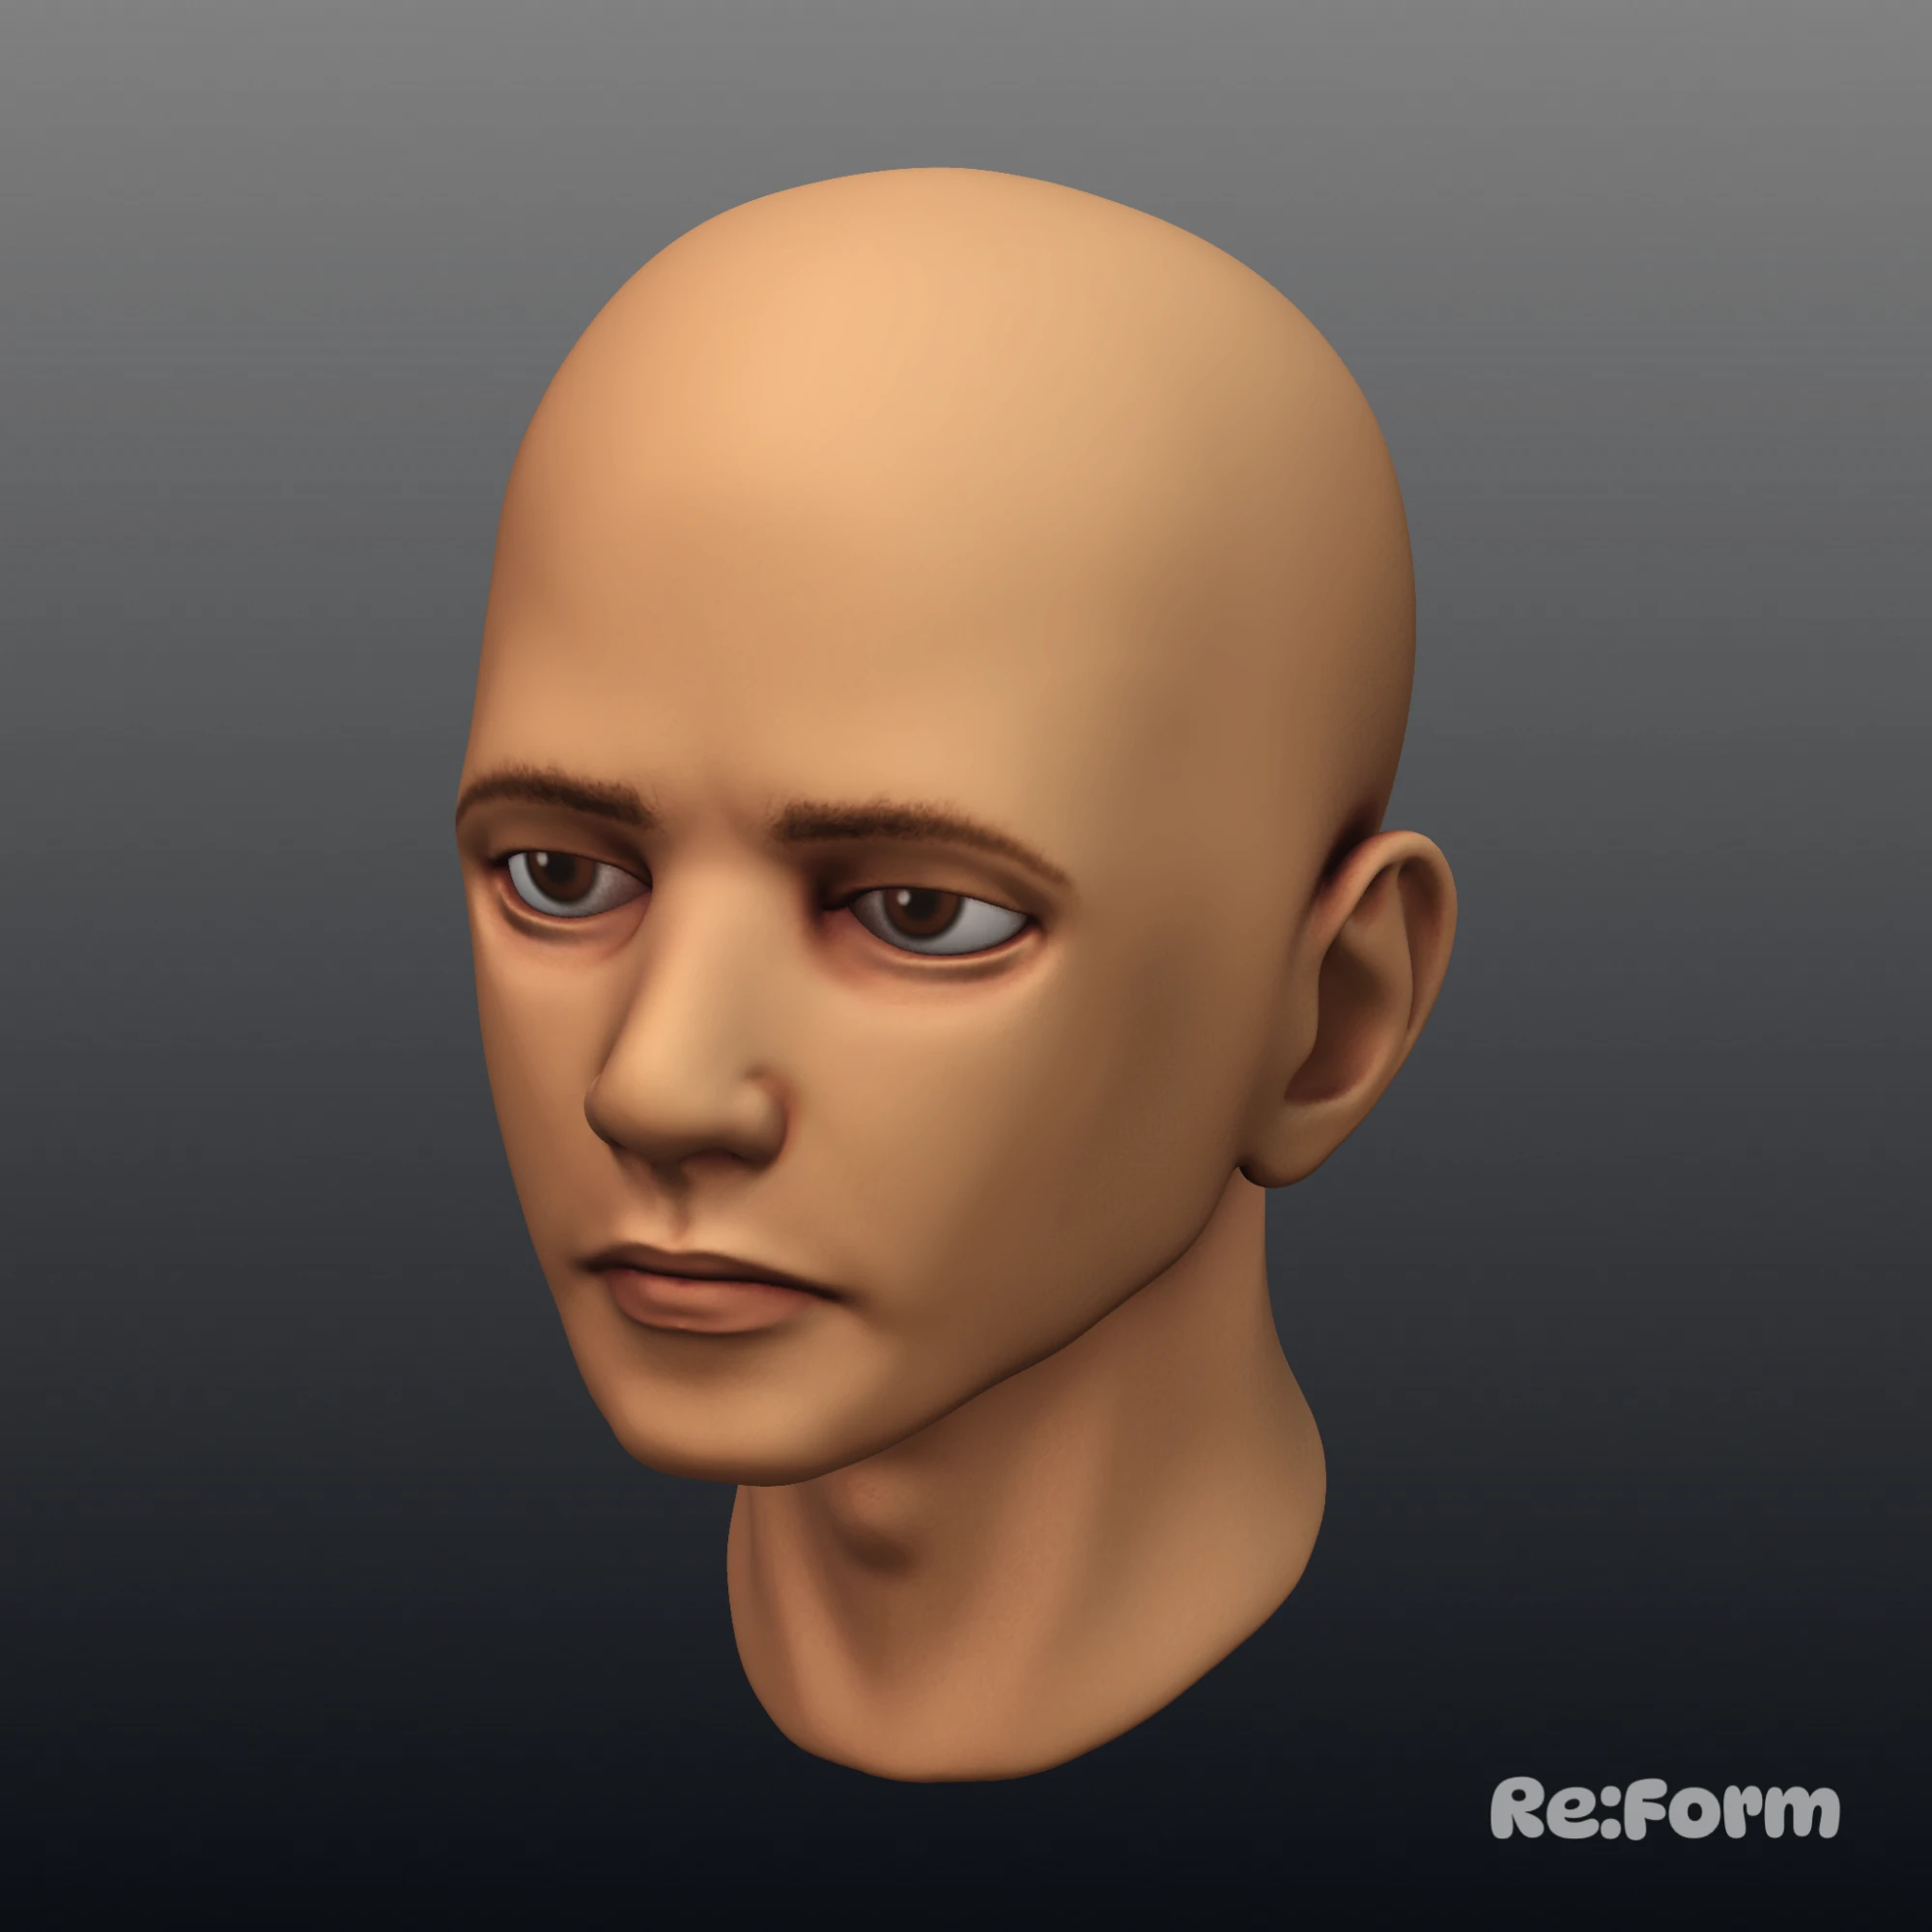
Linear across the model, by height, or blended over what is already painted.
Paint by curvature picks out cavities or edges in one press, for grime in the creases and wear on the ridges; Paint by occlusion shades the enclosed places, with a Blur to soften it.
Paint shows on every layer in every shading mode, not just the layer you are working on.
Matcap shading with sixteen materials reads form the way sculptors expect. Unlit shows the paint alone. Lit renders the paint through a physically based light rig with an environment you can turn, and three lights: a key, a fill and a rim, each with its own angle, height, strength and colour. Smooth or flat shading, wireframe on the render, and a floor, grid and axis guide when you want them.
Lighting and display →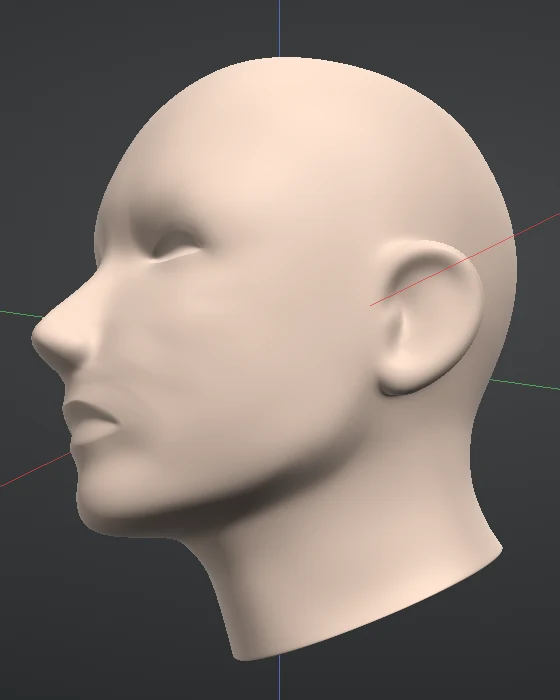
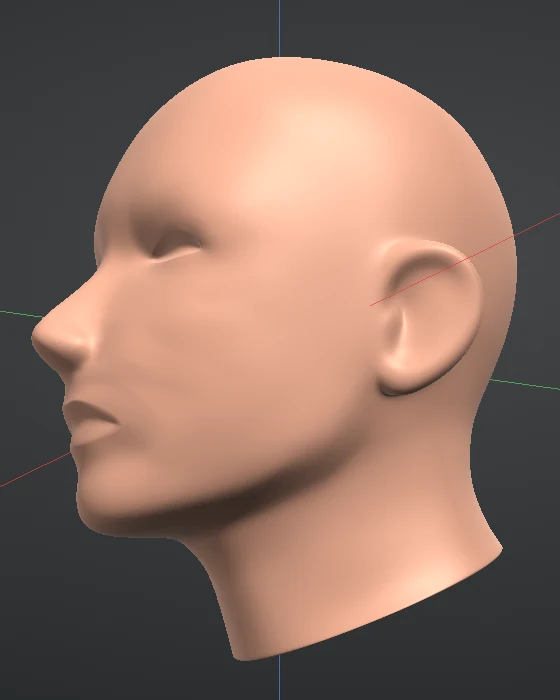
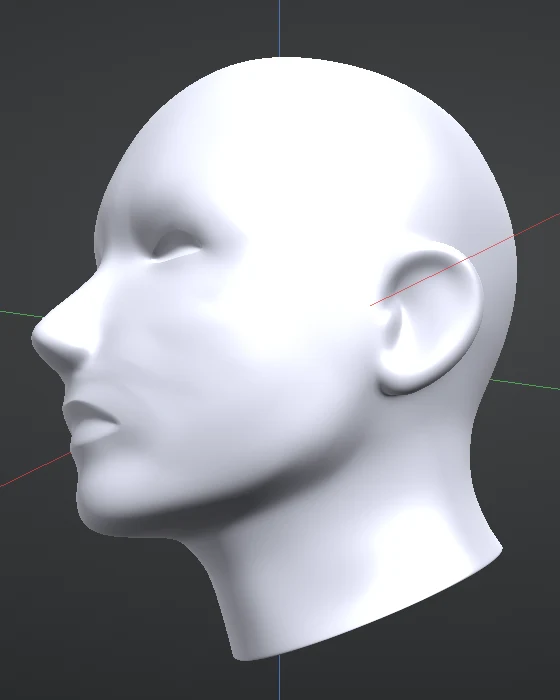
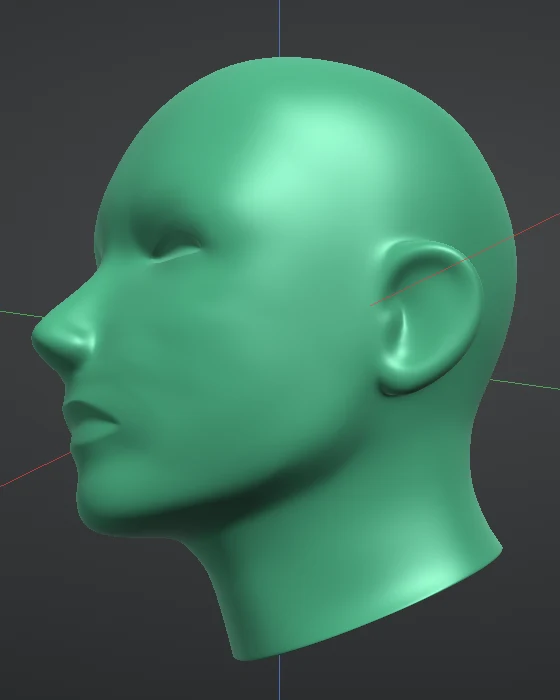
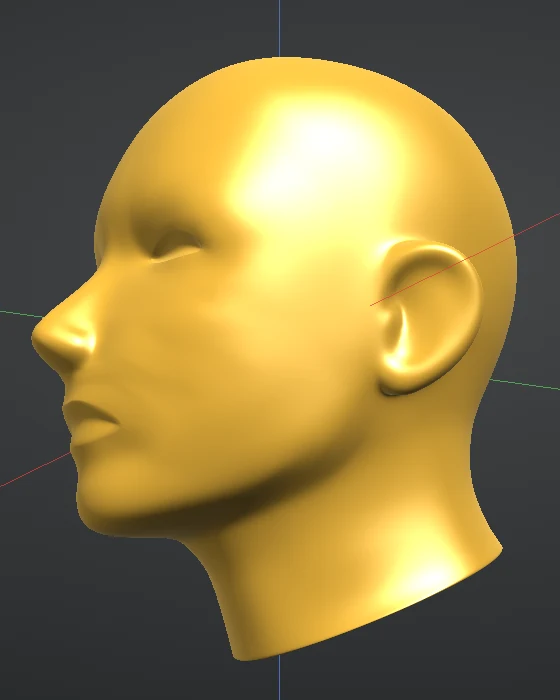
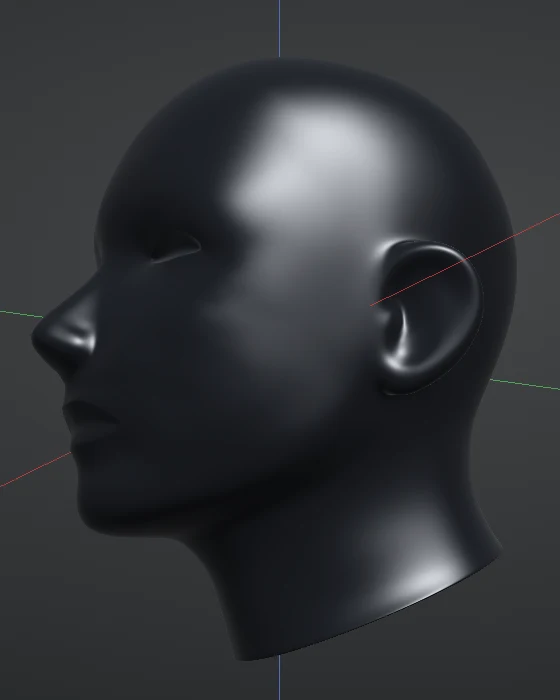
Import any picture of a lit sphere, PNG, JPEG or WebP, as a matcap. It is applied at once and kept in your library beside the sixteen for next time.
Stills, turntables and timelapses, and a link anyone can turn around.
Render a supersampled still at 1024, 2048, 4096 or 8192 pixels, or a looping turntable as MP4 or WebM. A full-window preview shows the exact render — orbit, pan and zoom inside it — with the lighting rig, shadow, occlusion, background and aspect all live before you commit.
Render and turntables →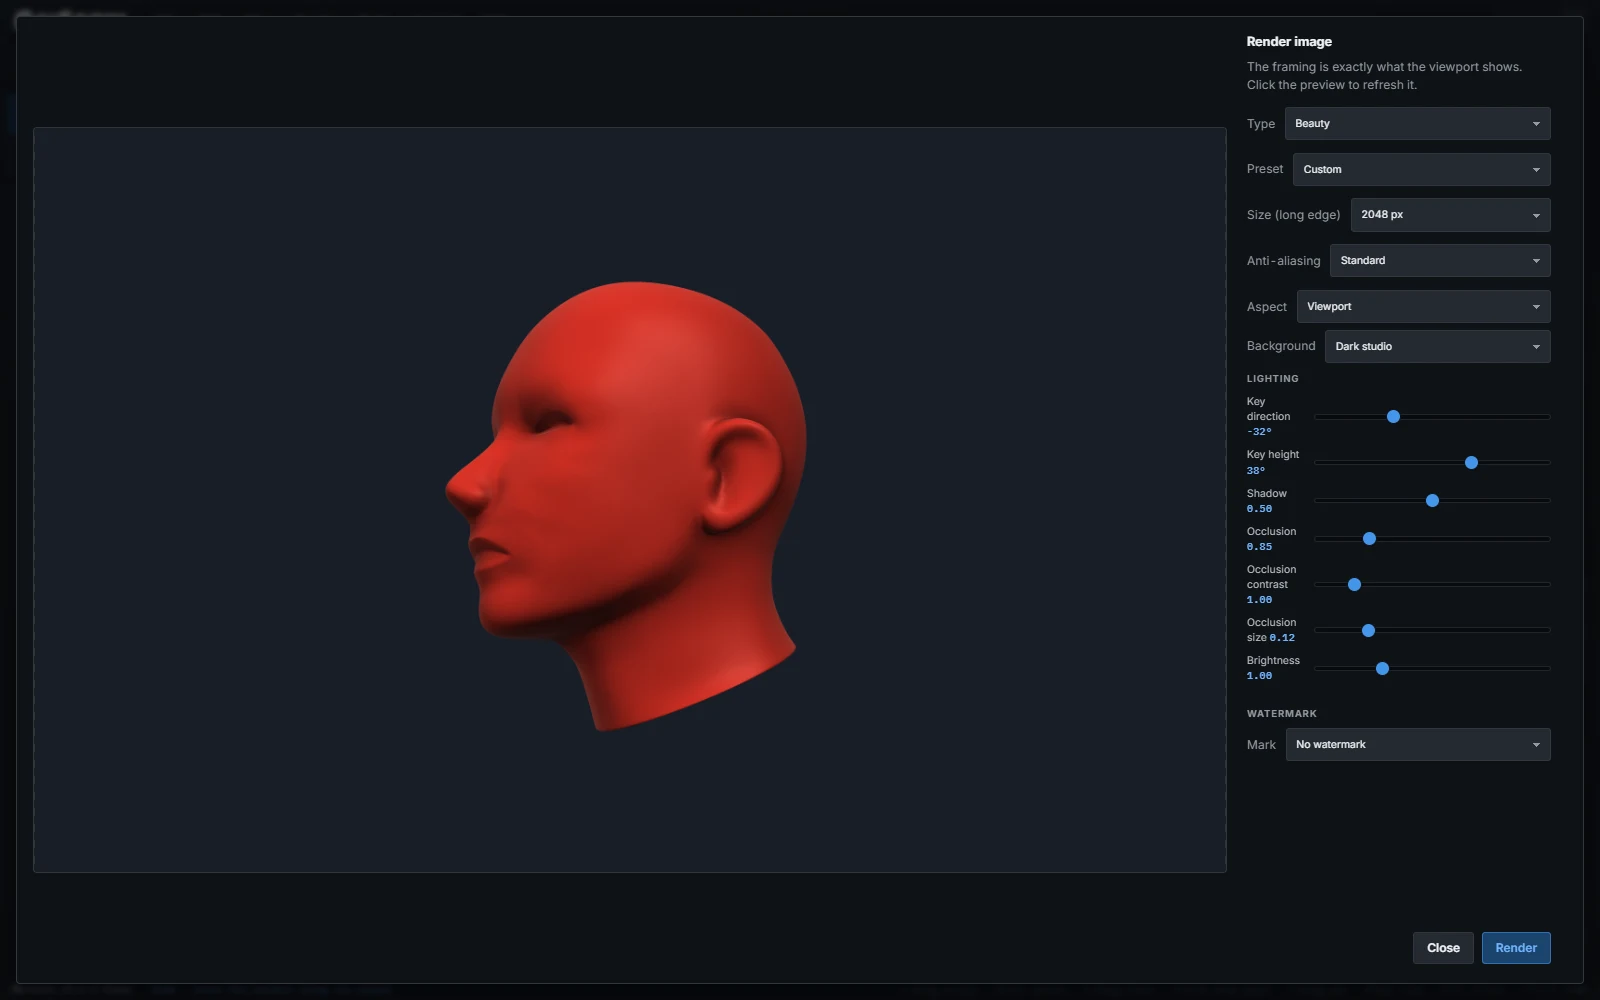
Render image, Render turntable and the timelapse each have a Preset list: YouTube 16:9, Shorts, Reels and TikTok 9:16, Instagram 4:5, Square, Cinema 21:9, Pinterest 2:3 and more. Picking one sets the shape and size, and for videos the frame rate and length.
Beauty, Silhouette, Depth (16-bit) and Normal, for compositing or for making alphas.
Dark studio, light studio, gradient or transparent backgrounds.
A render preview window stays open while you sculpt and shows the picture your Render settings would make, refreshed after each stroke. Lock its view to keep one angle on show while you work from another, or pause it.
A session timelapse records the sculpt as you work and skips the moments you only turn the view.
4096 px and 8K stills are Pro sizes; everything else, turntables and timelapses included, renders on Free with a small Re:Form mark.
Put an image or a 360° HDRI behind the sculpt. On Pro a render carries no mark, the Re:Form mark, or your own text or logo, in the corner you choose.
Share a sculpt by link and anyone can orbit it in a 3D viewer, on a phone or a desktop, with a preview that shows in chats. You choose how it opens: the material, the look, the background, and whether it is turning.
How sharing works →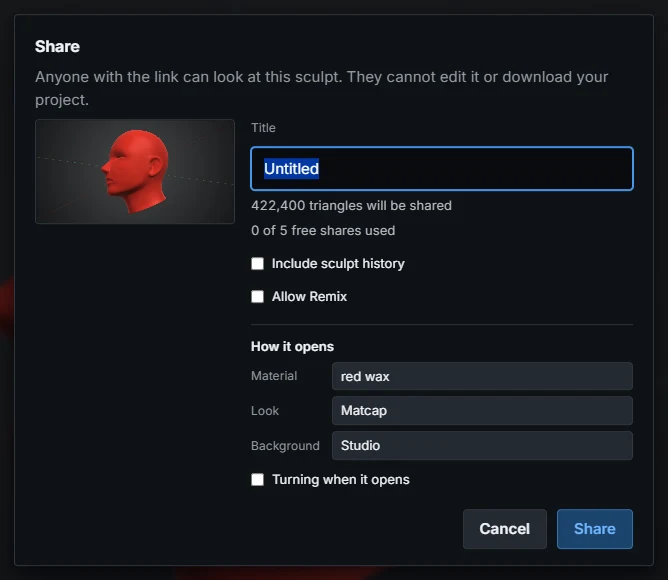
Anyone can turn it around in a 3D viewer, and the link shows a preview in chats. Free keeps five links at a time; Pro has no limit.
Switch on Include Timeline when you share, and the link also carries how the sculpt was made. The viewer gets a Play button and a scrub bar that step through up to 120 moments of it, and the model can be turned at every one.
Switch on Allow Remix when you share, and the viewer gets a Remix button. Anyone can open the shared mesh in Re:Form as a new sculpt of their own, on every plan, and what they share from it says it was remixed from yours, by the credit name you chose. They never get your project.
Every share link has an Embed button that copies one line of code. Paste it into a portfolio or a blog post and the 3D viewer, with your sculpt in it, sits on that page. How sharing works.
File ▸ Submit to gallery sends one of your shared sculpts, with the name you want to be credited by, to the Re:Form gallery. Every submission is looked at before it appears, nothing is ever submitted unless you do it, and you can withdraw it at any time. Every plan.
Share a finished render, turntable or timelapse straight to another app: where your browser can share a file, the result has a Share button that opens your device's share sheet. Nothing is uploaded.
File ▸ My shares lists every link you have published: copy it, rename it, or take it down.
Files that open elsewhere, prints that come out the right size, and a studio set up your way.
Autosave keeps ten dated snapshots in the browser, so closing the tab loses nothing. Saved projects carry everything — layers, paint, reference images, viewport settings — with your account, so they open wherever you sign in. Import and export OBJ, STL, GLB and FBX in both directions.
Import and export → Timeline guide → Re:Link →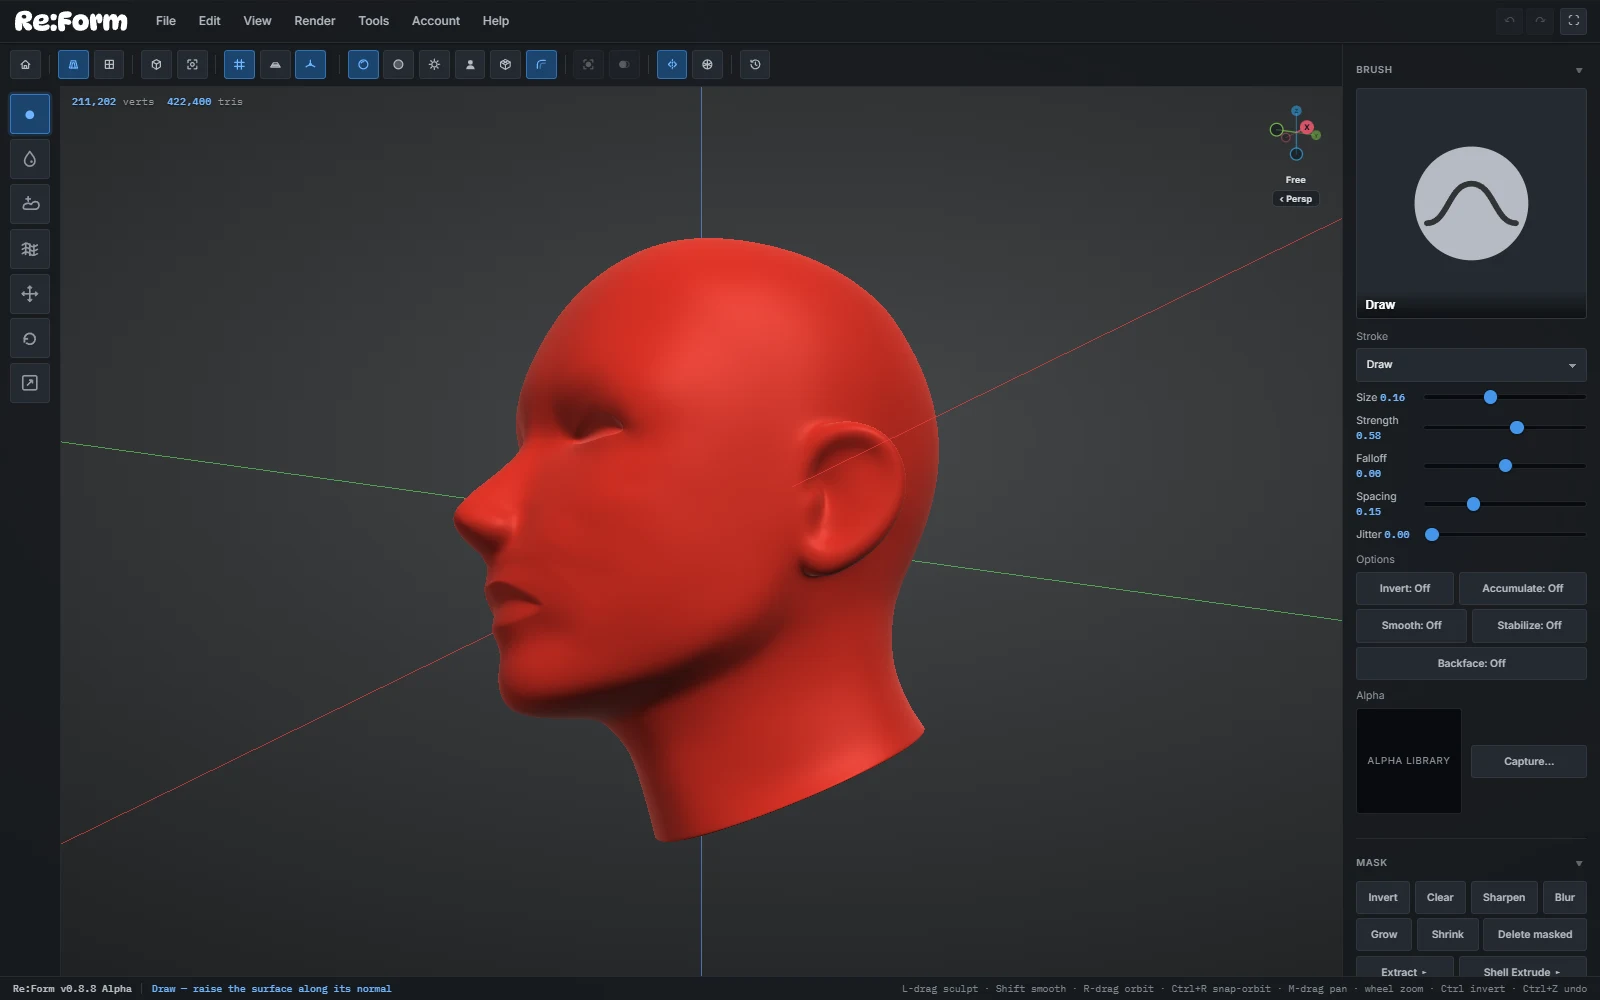
The Timeline button on the top toolbar opens a slider that goes back through every step of the sculpt. Drag it to look at any earlier point and back to Now to carry on, or sculpt at an earlier point to continue from there, with the later work kept as its own project if you want it. Always on, on every plan.
Re:Link sends the active layer straight into Blender, Godot, Unity or Unreal Engine on the same computer: one press and it is in the open scene, press again and it is updated where it stands. A free receiver for each program ships with Re:Form; nothing is uploaded. Every plan.
The Free plan imports and exports OBJ and STL; Pro unlocks all four formats. Models are never watermarked on any plan.
GLB keeps your vertex paint colours both ways: export a painted sculpt and import it again, or bring in any GLB with vertex colours, and it arrives painted. The millimetre scale rides into every format.
On Pro, File ▸ Save local… downloads a project to your computer as a .clay file and File ▸ Open local… opens one back: your own backups, and a way to hand a whole project to someone else. Saving to your account is on every plan.
Project files are packed without loss to about a tenth of their size: a 12-million-triangle sculpt saves in about 21 MB.
The start screen opens on big previews of your projects and autosaves, beside ten ways to start: sphere, cube, cylinder, cone, capsule, torus and plane, the Head and Ear starter meshes, and a Blockout. One click and you are sculpting.
If the browser or the graphics driver gives out, the next launch says so and offers your latest autosave.
Smooth in the app means smooth in the file.
Type the height you will print at, in millimetres, and the studio works in real sizes from there: walls, drain holes, thin spots and the exported file all come out at that height.
Sculpting for 3D printing →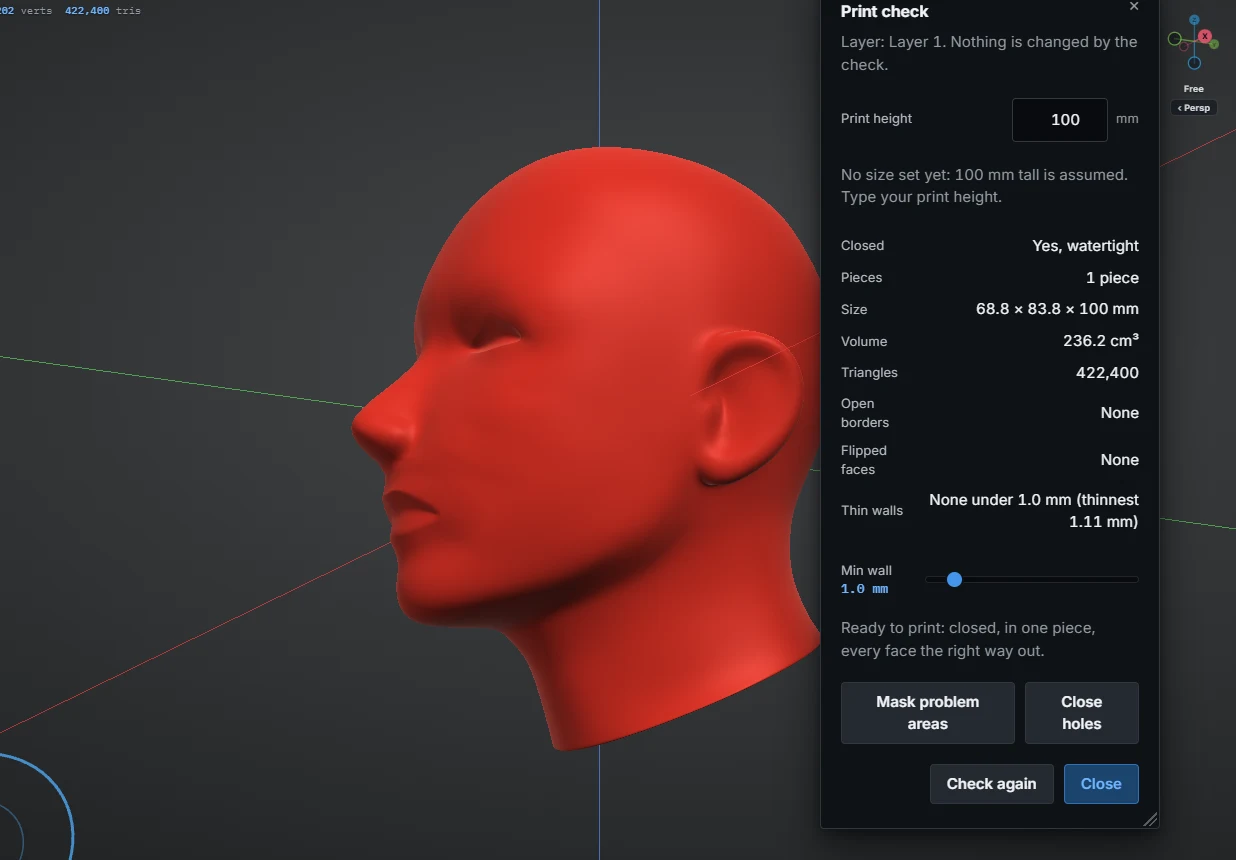
Tools ▸ Print check reports whether a layer is closed, how many pieces it is in, its size in millimetres, its volume and triangle count, any open borders or flipped faces, and the walls thinner than the minimum you set, with a button that masks the problem areas so you can find them, and Close holes beside it.
Tools ▸ Hollow makes a layer a shell for printing, with a wall of the thickness you set in millimetres and one or two drain holes at the bottom, through the Remesh, so the result is one clean watertight piece. Parts thinner than two walls stay solid. The sculpt keeps its detail, and it is never mirrored or smoothed on the way.
The Hollow and Print check windows have a Print height field. Until you type one, 100 mm tall is assumed and the window says so; typing one sets the scale every export uses.
The grid shows what one square is, and the millimetre scale rides into OBJ, STL, GLB and FBX.
Load a reference image for each axis view — front, back, left, right, top and bottom — and it stands in the scene as a plane you can scale, shift and fade. Snap to any axis with the gizmo or a key, switch between perspective and orthographic, and work in millimetres so exports come out at true size for printing.
Reference images →
Pen pressure drives strength, size or both, through a pressure curve you can tune, and every pen sample is part of the stroke with its own pressure, so a fast stroke follows the curve you drew. Palm rejection keeps a resting hand from spinning the view. One finger sculpts (or orbits, your choice), two fingers orbit and pinch to zoom, three pan. The interface grows to fit a hand the first time you touch the screen.
Navigating on a tablet →Make it yours.
Create an account and start sculpting,
nothing to download or install.
Free or Pro? Compare plans.